Category: Uncategorized

  • How to Apply for a South Korea Tourist Visa from the Philippines (2026 Guide)

    A practical, step-by-step guide for Filipino travelers applying for a Korean tourist visa — requirements, documents, processing time, fees, and tips for first-time applicants.

    Planning your first trip to South Korea?

    You’ve probably already started checking flights, hotels, Seoul itineraries, K-pop destinations, and maybe even your shopping budget.

    Then comes the part that makes many Filipino travelers nervous:

    The Korean tourist visa.

    If you’re a first-time applicant, the process can feel intimidating. There are forms to complete, documents to prepare, financial information to organize, and plenty of questions about what the Korean Embassy actually wants to see.

    But don’t panic.

    The key is to understand what you’re applying for, what documents apply to your situation, and how to prepare everything properly.

    This WanderMapped guide walks you through the South Korea tourist visa application process for Filipinos in 2026, using the latest information available from the Embassy of the Republic of Korea in the Philippines.

    Important: Visa rules can change. Always check the Korean Embassy’s latest announcements and requirements before submitting your application.

    Do Filipinos Need a Visa to Visit South Korea?

    For ordinary Philippine passport holders traveling to South Korea for tourism, a tourist visa is generally required.

    The usual tourist visa category is:

    C-3-9 — Ordinary Tourist

    This is the category most Filipino travelers should look into when visiting Korea for tourism.

    The Korean Embassy in the Philippines maintains the official list of requirements and updates it when procedures change. The Embassy’s current tourist visa requirements were updated on July 28, 2026.

    Where Do You Apply?

    Visa applications are handled through the Korean Visa Application Center (KVAC) and the channels designated by the Korean Embassy.

    The Embassy’s official website is the best place to check:

    • Current visa requirements
    • Application procedures
    • Processing announcements
    • Designated travel agencies
    • Visa application forms
    • Other consular notices

    Don’t rely solely on old Facebook posts or travel groups.

    A requirement that was correct last year may not necessarily be correct today.

    Step 1 — Determine Which Visa You Need

    For a normal vacation, you’re generally looking at:

    C-3-9 — Ordinary Tourist

    This is intended for travelers visiting Korea for tourism purposes.

    Your trip might include:

    • Seoul sightseeing
    • K-pop tourism
    • Shopping
    • Visiting family attractions
    • Theme parks
    • Cultural attractions
    • Day trips
    • General leisure travel

    If you’re traveling for work, study, family reunification, or another purpose, don’t automatically apply for C-3-9. A different visa category may apply.

    Step 2 — Prepare Your Basic Documents

    The exact requirements depend on your circumstances, so use the Embassy’s current C-3-9 checklist as your primary reference.

    Generally, applicants should expect to prepare documents such as:

    • Completed visa application form
    • Valid Philippine passport
    • Passport photographs
    • Passport bio-page photocopy
    • Proof of financial capacity
    • Proof of employment or source of income, where applicable
    • Supporting documents relating to your trip
    • Other documents required based on your applicant category

    The important thing is not simply to submit a lot of documents.

    The goal is to submit the right documents that clearly support your application.

    Step 3 — Prepare Your Financial Documents

    This is probably the part that causes the most anxiety among Filipino applicants.

    You’ll often hear questions like:

    “How much should be in my bank account?”

    Here’s the important point:

    There isn’t a magic number that guarantees approval.

    Having ₱100,000 doesn’t automatically mean you’ll be approved.

    Having ₱300,000 doesn’t automatically mean you’ll be approved either.

    The Embassy evaluates your application as a whole.

    Your financial documents should make sense in relation to:

    • Your income
    • Your employment
    • Your travel duration
    • Your planned expenses
    • Your financial history
    • Your overall circumstances

    WanderMapped Tip

    Don’t suddenly deposit a huge amount of unexplained money into your account immediately before applying just to make your balance look bigger.

    A consistent and believable financial history is much easier to understand.

    Step 4 — Employment Documents Matter

    If you’re employed, your application should clearly establish that you have a legitimate source of income and a reason to return to the Philippines.

    Depending on the current requirements applicable to your situation, this can include employment-related documentation such as:

    • Certificate of Employment
    • Position
    • Date of employment
    • Salary information
    • Other supporting employment documents

    Why is this important?

    Think about your application from the perspective of the reviewing officer.

    You’re essentially demonstrating:

    “I have a stable life in the Philippines, I can afford this trip, and I have a reason to return home.”

    That’s much more useful than simply trying to make your bank balance look impressive.

    What If You’re Self-Employed or a Business Owner?

    Don’t worry.

    Being self-employed doesn’t automatically make your application weaker.

    Your goal is to document your business and income properly.

    Depending on the applicable checklist, supporting documents may include things such as:

    • Business registration
    • Business permits
    • Financial documents
    • Bank records
    • Other evidence of business activity

    The important thing is consistency.

    Your:

    business → income → bank activity → travel budget

    should tell a believable story.

    What If You’re a Student?

    Students may not have their own substantial income, and that’s normal.

    If you’re financially supported by your parents or another family member, your application should clearly show:

    Who is paying for the trip?

    and

    What is your relationship to that person?

    Supporting documents may therefore involve your:

    • Parent or sponsor
    • Proof of relationship
    • Sponsor’s financial documents
    • School-related documents
    • Other documents required under the current student checklist

    Don’t try to make your application look like you’re financially independent if you’re actually being supported by your parents.

    Be truthful and consistent.

    Applying as a Family

    This is especially relevant to WanderMapped readers.

    If you’re traveling as a family of four, for example:

    Dad + Mom + two children

    you should prepare your documents so that the relationship between the applicants is clear.

    Your itinerary should also make sense as a family trip.

    For example:

    Day 1

    Arrival in Seoul

    Day 2

    Palaces + cultural attractions

    Day 3

    K-pop / Hongdae

    Day 4

    Theme park

    Day 5

    Shopping

    Day 6

    Day trip

    Day 7

    Departure

    That’s a much more believable family itinerary than an extremely packed schedule covering half of Korea in a few days.

    Step 5 — Prepare Your Travel Itinerary

    Your itinerary doesn’t need to be a minute-by-minute schedule.

    Keep it realistic.

    A simple table works well:

    DayDestination / Activity
    Day 1Arrival in Seoul
    Day 2Gyeongbokgung + Bukchon
    Day 3Gangnam + K-pop activities
    Day 4Everland
    Day 5Hongdae + shopping
    Day 6Nami Island
    Day 7Departure

    Your itinerary should match your:

    • Hotel location
    • Length of stay
    • Budget
    • Travel companions

    Step 6 — Prepare Your Accommodation Information

    Your accommodation should make sense with your itinerary.

    For example, if you’re staying in Myeongdong, don’t create an itinerary that requires you to spend four hours commuting across Seoul every morning.

    Keep things logical.

    WanderMapped Tip:

    For families, staying near a subway station is often more important than choosing the absolute cheapest hotel.

    A slightly more expensive hotel in a convenient location can save:

    • Transportation costs
    • Time
    • Walking
    • Stress

    Step 7 — Check Your Passport and Photograph

    Before submitting anything, check your passport carefully.

    Make sure:

    • Your name is consistent across documents
    • Your passport is valid for the planned trip
    • Your passport has sufficient blank pages
    • Your photograph meets the current specifications
    • Your application form is complete

    A simple mistake in your application can create unnecessary delays.

    Step 8 — Complete the Application Carefully

    Don’t rush the application form.

    Make sure the information is:

    Accurate + consistent + truthful.

    Check:

    • Name spelling
    • Passport number
    • Date of birth
    • Employment information
    • Travel dates
    • Accommodation
    • Contact information

    If your application says one thing while your supporting documents say something completely different, that can raise questions.

    Step 9 — Pay the Applicable Fees

    Visa-related costs can include:

    • Visa fee, where applicable
    • KVAC service fee
    • Courier or mailing charges, if applicable
    • Express-processing fee, if eligible

    Don’t assume that an amount you saw on an old blog post or Facebook group is still current.

    Fees and procedures can change.

    How Long Does a Korean Tourist Visa Take in 2026?

    This is especially important if you’ve already booked your flight.

    As of June 15, 2026, the Korean Embassy in the Philippines states that the regular processing period for short-term visit C-3 visas is 10 working days.

    The Embassy also states that express processing takes five working days, subject to eligibility and the applicable express fee.

    But here’s my advice:

    Don’t plan your trip around the minimum processing time.

    Give yourself extra time.

    Why?

    Because:

    • Processing periods can change
    • Additional documents may be requested
    • Application volume can increase
    • Holidays can affect schedules
    • Courier time may apply

    The Embassy has changed processing periods several times during 2026, which is a good reminder that applicants should check the latest announcement before applying.

    Can You Apply for Express Processing?

    The Embassy currently allows express processing for eligible short-term C-3 applicants who have a reasonable reason for requesting it and can provide supporting evidence.

    The published express fee is US$20, excluding the visa application center fee, with a stated processing period of five working days.

    However, here’s the important part:

    Tourism applicants are generally not eligible simply because they want their visa faster.

    The Embassy specifically notes that tourism applicants are generally not eligible for express processing unless they have a qualifying reason.

    So don’t book a last-minute trip and assume you can simply pay extra to speed everything up.


    Can You Apply by Mail?

    The Korean Embassy previously introduced a mail application system for Filipino C-3-9 tourist visa applicants through W Express.

    However, procedures can change.

    Because the Embassy has introduced and modified visa application channels over time, check the latest instructions before sending your documents rather than relying on an old mailing procedure.

    Common Mistakes Filipino Applicants Should Avoid

    1. Fake or questionable documents

    This should be obvious, but it’s worth saying:

    Don’t do it.

    Never submit fabricated:

    • Bank documents
    • Employment certificates
    • Travel histories
    • Reservations
    • Financial records

    A visa application isn’t worth risking your credibility.

    2. Unexplained bank deposits

    A suddenly inflated bank balance isn’t necessarily helpful.

    If your financial documents don’t make sense together, you could create more questions instead of fewer.

    3. Copying someone else’s application

    Your friend’s successful application isn’t necessarily your application.

    You have your own:

    • Employment
    • Income
    • Family situation
    • Travel history
    • Financial circumstances

    Build your application around your actual situation.

    4. Booking a non-refundable trip too early

    This is a big one.

    If you haven’t received your visa yet, think carefully before committing to expensive non-refundable arrangements.

    5. Making an unrealistic itinerary

    Don’t write an itinerary just because it looks impressive.

    Make it realistic.

    6. Using outdated requirements

    This is probably the easiest mistake to make.

    A blog post from 2023 may still appear on Google.

    A TikTok video from 2024 may still be circulating.

    A Facebook post from 2025 may still be shared thousands of times.

    But visa procedures change.

    Always verify against the Korean Embassy’s latest information.

    WanderMapped’s Practical Visa Strategy

    Here’s how I would approach the application.

    Step 1

    Decide when you actually want to travel.

    Step 2

    Calculate your realistic trip budget.

    Step 3

    Check the current visa requirements.

    Step 4

    Start gathering documents.

    Step 5

    Prepare a realistic itinerary.

    Step 6

    Organize your financial documents.

    Step 7

    Double-check everything.

    Step 8

    Submit your application through the current authorized channel.

    Step 9

    Wait for the result.

    Step 10

    Only then finalize the rest of your trip with greater confidence.

    What Happens After Your Visa Is Approved?

    Congratulations!

    Now the fun part begins.

    It’s time to finalize:

    ✈️ Flights

    🏨 Hotels

    🚇 Transportation

    🎟 Attractions

    📱 SIM/eSIM

    🛡 Travel insurance

    🧳 Packing

    💰 Spending money

    And, of course…

    Shopping budget.

    Because somehow that ₱5,000 “small shopping budget” always seems to disappear in Myeongdong. 😂

    Continue Planning Your Korea Trip

    This post is part of the WanderMapped South Korea Travel Hub.

    Start here:

    The Ultimate South Korea Travel Guide for Filipinos

    Korea Budget Guide: How Much Does a Trip to South Korea Cost? — Pinoy Budget Breakdown

    Korea Itinerary: 7-Day South Korea Itinerary for Filipino Families

    K-Pop: K-Pop Pilgrimage: A 3-Day Seoul Itinerary for Filipino Fans

    Travel Preparation: Best Travel Gear for Filipino Families

    Travel Insurance: The Filipino Traveler’s Guide to Travel Insurance

    Quick Korean Visa Checklist

    Before submitting, go through your own applicable checklist carefully:

    • Check the latest C-3-9 requirements
    • Check passport validity
    • Complete the visa application
    • Prepare the required photograph
    • Prepare financial documents
    • Prepare employment/business/student documents as applicable
    • Prepare itinerary
    • Prepare accommodation information
    • Prepare supporting family documents if traveling as a family
    • Check current fees
    • Confirm the current application channel
    • Allow sufficient processing time
    • Keep copies of submitted documents

    Final WanderMapped Advice

    Applying for a Korean visa can feel intimidating.

    But don’t approach it as:

    “How do I make them approve me?”

    Instead, approach it as:

    “How do I clearly and honestly demonstrate that this is a legitimate trip that I can afford and that my circumstances support?”

    Prepare your documents carefully.

    Keep everything consistent.

    Don’t exaggerate.

    Don’t submit questionable documents.

    And most importantly:

    Use the latest official information.

    Visa requirements can change, so this article should be treated as a planning guide—not a substitute for the Korean Embassy’s current instructions.

    Once the visa is approved, that’s when the exciting part really begins.

    Seoul is waiting.

    Travel smart. Spend wisely. Wander farther.

    — WanderMapped

    Official Visa Resources

    For the latest requirements, announcements, processing times, and application information, always verify directly with the Embassy of the Republic of Korea in the Philippines before applying.

    Official Korean Embassy: Embassy of the Republic of Korea in the Philippines

    The Embassy’s current visa announcements include the latest processing-period notices and other visa-related updates.
  • The Ultimate South Korea Travel Guide for Filipinos (2026 Edition)

    Everything you need to know before visiting Seoul and beyond — visas, budget, hotels, transportation, K-pop, food, itineraries, and practical Pinoy travel tips.

    Planning your first trip to South Korea?

    Maybe you’re dreaming of seeing Seoul’s famous palaces, shopping in Myeongdong, exploring Hongdae, visiting K-pop landmarks, eating authentic Korean BBQ, or finally experiencing the places you’ve seen in K-dramas.

    Or maybe you’re simply asking:

    “Magkano ba talaga ang kailangan?”

    “Kaya ba ang DIY Korea trip?”

    “Paano ang visa?”

    “Saan magandang mag-stay?”

    “Kailangan ba ng tour?”

    Good news: Yes, you can absolutely plan South Korea yourself.

    And that’s what this WanderMapped guide is here to help you do.

    This 2026 South Korea Travel Guide for Filipinos brings together the most important information you’ll need to plan your trip — from preparing your visa and choosing the right neighborhood to budgeting, transportation, sightseeing, K-pop experiences, and building your own itinerary.

    Think of this as your starting point for planning Korea.


    Why South Korea Is So Popular with Filipino Travelers

    South Korea has something for almost everyone.

    For families:

    • Theme parks
    • Shopping
    • Korean food
    • Cultural attractions
    • Safe and organized public transportation

    For teenagers:

    • K-pop
    • K-dramas
    • Cafés
    • Street fashion
    • Shopping
    • Entertainment districts

    For couples:

    • Romantic cafés
    • Scenic neighborhoods
    • Palaces
    • Namsan Seoul Tower
    • Day trips outside Seoul

    For budget travelers:

    • Affordable convenience-store meals
    • Extensive subway network
    • Guesthouses and budget hotels
    • Free parks and cultural attractions

    And for Filipino travelers, Korea is relatively easy to navigate once you understand the basics.


    Do Filipinos Need a Visa for South Korea?

    Yes.

    Filipino ordinary passport holders traveling to South Korea for tourism generally need to apply for the appropriate Korean tourist visa before traveling.

    This is one of the most important things to plan early.

    The Korean Embassy in the Philippines currently lists the short-term tourist visa as C-3-9. The Embassy’s latest published requirements were updated on July 28, 2026, so always check the official requirements before submitting your application.

    Current visa processing reminder

    As of June 15, 2026, the Embassy states that regular short-term visit visa processing is 10 working days, while express processing remains five working days for applicants who qualify.

    Don’t treat these numbers as a guarantee, though.

    WanderMapped Tip:

    Apply early.

    If you’re traveling during peak periods such as Christmas, school holidays, or major Korean holidays, give yourself plenty of breathing room.

    What about K-ETA?

    This is where travelers sometimes get confused.

    K-ETA is for travelers who are eligible to enter Korea visa-free. It is not a replacement for a Korean tourist visa.

    So if you’re a Filipino traveler who needs a tourist visa, don’t assume that applying for K-ETA will replace the visa requirement.


    How Much Does a Trip to South Korea Cost?

    This is probably the first question most Filipino travelers ask.

    The answer depends heavily on:

    • Flight prices
    • Number of days
    • Hotel choice
    • Travel season
    • Shopping
    • Theme parks
    • Tours
    • Restaurant choices

    As a general planning range, a 5–7-day Korea trip might look like this:

    Travel StyleEstimated Budget Per Person
    Budget₱30,000–₱40,000
    Mid-range₱45,000–₱65,000
    Comfortable₱65,000–₱90,000+

    These are planning estimates, not fixed package prices. Airfares, accommodation and exchange rates can change considerably.

    For a detailed breakdown of flights, hotels, food, transportation and activities, see:

    → How Much Does a Trip to South Korea Cost? (Pinoy Budget Breakdown)


    Where Does Your Korea Budget Go?

    A typical trip can be divided into:

    Flights

    Look for seat sales and compare different travel dates.
    Accommodation

    Your biggest decision after airfare.

    Food

    Korea has options ranging from convenience-store meals to premium Korean BBQ.

    Transportation

    Seoul’s subway system makes getting around relatively affordable.

    Attractions

    Palaces can be inexpensive, while theme parks and special experiences can significantly increase your budget.

    Shopping

    This is the wildcard.

    You might plan to spend ₱2,000 on shopping…

    …and somehow return home with ₱15,000 worth of skincare and K-pop albums. 😅


    Where Should Filipinos Stay in Seoul?

    Choosing the right neighborhood can make a HUGE difference to your trip.

    Myeongdong — Best for First-Time Visitors

    Myeongdong is one of the easiest choices for first-time travelers.

    Why stay here?

    ✔ Central location
    ✔ Shopping everywhere
    ✔ Lots of restaurants
    ✔ Easy subway access
    ✔ Convenient for airport transfers
    ✔ Great for families

    If you’re unsure where to stay, Myeongdong is a safe starting point.


    Hongdae — Best for Teens and K-Pop Fans

    If you’re traveling with teenagers, Hongdae deserves serious consideration.

    You’ll find:

    • K-pop stores
    • Street performances
    • Cafés
    • Fashion shops
    • Restaurants
    • Youth culture

    It’s particularly good for families whose kids are interested in K-pop, Korean fashion or Korean entertainment.


    Gangnam — Best for a More Modern Seoul Experience

    Gangnam is famous for:

    • K-pop entertainment companies
    • Luxury shopping
    • COEX
    • Cafés
    • Restaurants
    • K-Star Road

    The downside?

    Accommodation can be more expensive.


    Dongdaemun — Good for Shopping and Value

    Dongdaemun is another option for travelers who want:

    ✔ Shopping
    ✔ Nighttime activity
    ✔ Central transportation
    ✔ More accommodation choices


    Getting Around South Korea

    Don’t be intimidated by the Seoul subway.

    Once you understand it, you’ll probably wonder why you were worried.

    Essential apps:

    Naver Map

    Excellent for navigation and public transport.

    KakaoMap

    Another useful mapping option.

    Papago

    Extremely useful when you need Korean-English translation.

    Kakao T / k.ride

    Useful for taxis and transportation.

    The Korea Tourism Organization’s current transportation guide also highlights Naver Maps, Kakao Maps, KorailTalk, subway services, taxi services and airport transportation options for international visitors.


    Do You Need a T-Money Card?

    For most travelers:

    Yes.
    A T-money card is a rechargeable transportation card that can make using public transportation much easier.

    Use it for:

    • Subway
    • Buses
    • Some convenience-store purchases

    WanderMapped Tip:

    Get your transportation card as soon as practical after arriving.

    It saves you from repeatedly buying individual tickets.


    What SIM or eSIM Should You Use?

    Having mobile data in Korea is extremely useful.
    You’ll use it for:

    • Naver Maps
    • Messaging
    • Translation
    • Ride-hailing
    • Restaurant searches
    • Online reservations
    • Checking opening hours

    For families, compare:

    Individual eSIMs

    Best if everyone needs their own connection.

    Pocket Wi-Fi

    Useful if traveling as a group and everyone stays together.

    Korean SIM

    A good option if you want a local mobile connection.


    Korean Food: What Should You Try?

    You definitely don’t need to spend a fortune to eat well in Korea.

    Must-try dishes:

    🍚 Bibimbap

    🥘 Kimchi jjigae

    🥩 Korean BBQ

    🍗 Korean fried chicken

    🍜 Kalguksu

    🥟 Mandu

    🍢 Tteokbokki

    🥞 Hotteok

    🍙 Gimbap

    And don’t underestimate convenience stores.

    A quick breakfast from CU or GS25 can be surprisingly good — and very useful when you’re trying to keep your daily budget under control.


    K-Pop Travel in Seoul

    For many Filipino teenagers, this is the highlight of the trip.

    Seoul offers opportunities to explore:

    • Entertainment districts
    • K-pop merchandise shops
    • Album stores
    • Fan cafés
    • Birthday cafés
    • K-Star Road
    • Dance studios
    • Music-related attractions

    If you’re traveling specifically for K-pop, don’t miss our dedicated guide:

    → K-Pop Pilgrimage: A 3-Day Seoul Itinerary for Filipino Fans

    That guide focuses specifically on creating a K-pop-centered Seoul experience.


    Traveling to Korea With Teenagers

    This is one area where Korea really shines.

    The trick is not to create an itinerary that’s 100% sightseeing.

    A teenager might tolerate:

    Palace → Museum → Historical Site

    once.

    But doing that every day?

    Good luck.

    Instead, mix:

    Culture + Food + Shopping + K-pop + Fun

    For example:

    Morning

    Gyeongbokgung Palace

    Lunch

    Korean BBQ

    Afternoon

    Hongdae shopping

    Evening

    K-pop merchandise + cafés

    That’s much easier to sell to the teenagers.


    What Are the Best Cultural Attractions?

    For first-time visitors, consider:

    Gyeongbokgung Palace

    One of Seoul’s most iconic historical attractions.

    Bukchon Hanok Village

    Traditional Korean architecture mixed with modern Seoul.

    Insadong

    Great for souvenirs, traditional crafts and Korean culture.

    Namsan Seoul Tower

    One of Seoul’s classic viewpoints.

    Cheonggyecheon Stream

    A relaxing urban walking area in the heart of Seoul.


    Best Theme Parks for Families

    Everland

    Great for:

    ✔ Thrill rides
    ✔ Families
    ✔ Teens
    ✔ Safari experiences

    Lotte World

    Especially convenient if you want a theme park experience without traveling as far outside central Seoul.

    WanderMapped Tip:

    Don’t automatically add every theme park to your itinerary.

    One full theme-park day is usually enough for a 5–7 day trip.


    Best Day Trips from Seoul

    If you have more than four or five days, consider a day trip.

    Nami Island

    Popular with first-time visitors and K-drama fans.

    Petite France

    Often combined with Nami Island.

    Garden of Morning Calm

    Especially beautiful during seasonal displays.

    DMZ

    A very different experience focused on Korean history and the division of the peninsula.

    Choose based on your family’s interests rather than simply following a checklist.


    How Many Days Should You Spend in Korea?

    Here’s my recommendation:

    3–4 Days

    Good for a quick Seoul trip.

    5 Days

    Enough for the major Seoul highlights.

    7 Days

    The sweet spot for first-time Filipino families.

    You can comfortably combine:

    • Seoul
    • K-pop
    • Culture
    • Shopping
    • Theme Park
    • One day trip

    10+ Days

    Now you can consider destinations outside Seoul such as Busan or Jeju.


    Sample 7-Day Korea Itinerary

    Here’s a simple framework you can customize.

    DaySuggested Plan
    Day 1Arrival + Myeongdong
    Day 2K-pop + Gangnam
    Day 3Gyeongbokgung + Bukchon + Insadong
    Day 4Nami Island day trip
    Day 5Everland / Lotte World
    Day 6Hongdae + shopping
    Day 7Free time + departure

    For a complete day-by-day version, see:

    → The Ultimate 7-Day South Korea Itinerary for Filipino Families


    When Is the Best Time to Visit South Korea?

    This depends on what you want.

    🌸 Spring — March to May

    Best for:

    • Mild temperatures
    • Cherry blossoms
    • Outdoor sightseeing

    Popular — and potentially more expensive.


    ☀️ Summer — June to August

    Expect:

    • Heat
    • Humidity
    • Rain

    But there are plenty of indoor activities and summer events.


    🍂 Autumn — September to November

    One of my favorite seasons for Korea.

    You’ll get:

    • Cooler temperatures
    • Autumn colors
    • Comfortable sightseeing weather

    ❄️ Winter — December to February

    Perfect if you want:

    • Snow
    • Christmas atmosphere
    • Winter fashion
    • Skiing
    • Korean winter experiences

    Just pack properly.


    What Should Filipinos Pack for Korea?

    Your packing list depends heavily on the season.

    But these are useful year-round:

    ✔ Comfortable walking shoes
    ✔ Portable powerbank
    ✔ Universal travel adapter
    ✔ Small umbrella
    ✔ Daypack
    ✔ Basic medicines
    ✔ Travel documents
    ✔ Mobile data/eSIM
    ✔ Reusable water bottle

    For winter:

    ✔ Thermal layers
    ✔ Warm jacket
    ✔ Gloves
    ✔ Heat packs
    ✔ Moisturizer/lip balm

    Don’t underestimate how cold Seoul can feel in winter.


    15 WanderMapped Tips for First-Time Korea Travelers

    1. Don’t overpack.

    You’ll probably shop.

    2. Stay near a subway station.

    This is more important than having a fancy hotel.

    3. Learn a few Korean phrases.

    Even basic Korean goes a long way.

    4. Use Naver Map.

    Don’t depend entirely on Google Maps.

    5. Carry some cash.

    Cards are widely used, but cash can still be useful.

    6. Bring comfortable shoes.

    You will walk.

    A LOT.

    7. Don’t schedule every minute.

    Leave room for spontaneous discoveries.

    8. Don’t automatically book expensive tours.

    Many Seoul attractions are easy to visit independently.

    9. Compare hotel locations—not just prices.

    A cheaper hotel far from the subway isn’t always cheaper overall.

    10. Budget for shopping.

    Especially if you’re traveling with teenagers.

    11. Eat where locals eat.

    Tourist streets aren’t always the best value.

    12. Check attraction opening days.

    Don’t build your itinerary around an attraction that’s closed that day.

    13. Keep your itinerary flexible.

    Weather can change your plans.

    14. Save your hotel address in Korean.

    Very useful when taking taxis.

    15. Don’t forget travel insurance.

    Hopefully you’ll never need it.

    But it’s better to have it.


    Example Budget for a 7-Day Family of Four

    Here’s a planning example, not a fixed quotation:

    CategoryEstimated Family Budget
    Flights₱60,000–₱100,000
    Accommodation₱25,000–₱45,000
    Food₱18,000–₱30,000
    Transportation₱8,000–₱12,000
    Attractions/Tours₱15,000–₱30,000
    Miscellaneous₱5,000–₱10,000
    Estimated Total₱131,000–₱227,000

    Shopping is not included.

    And yes…

    Shopping can completely destroy this budget. 😅


    How to Save Money on Your Korea Trip

    If you’re trying to keep the trip affordable:

    Book flights strategically

    Don’t automatically choose the cheapest flight if the schedule wastes an entire day.

    Stay near public transport

    Location can save both time and money.

    Use the subway

    Taxis are convenient but can quickly increase your daily expenses.

    Mix restaurants with convenience-store meals

    You don’t need restaurant meals three times a day.

    Compare attraction tickets

    Look at official sites and reputable booking platforms before purchasing.

    Set a shopping allowance

    Especially when traveling with K-pop fans.


    DIY Korea or Package Tour?

    This is a common question.

    DIY is better if:

    ✔ You like flexibility
    ✔ You’re comfortable using apps
    ✔ You want to choose your own hotels
    ✔ You want to control your budget

    Package tours are better if:

    ✔ You don’t want to plan transportation
    ✔ You’re traveling with seniors
    ✔ You prefer having a guide
    ✔ You don’t want to deal with logistics

    WanderMapped verdict:

    For a family comfortable with smartphones and basic travel planning:

    DIY Korea is absolutely doable.

    And it can be more flexible and sometimes more affordable.


    Your Korea Planning Checklist

    Before booking your trip, make sure you’ve answered:

    • What month will we travel?
    • How many days do we have?
    • What’s our total budget?
    • Have we checked flight schedules?
    • Have we planned our visa application?
    • Where will we stay?
    • How will we get from the airport to our hotel?
    • Which attractions are must-visits?
    • Do we need theme-park tickets?
    • Do we want a day trip?
    • Do we need an eSIM/SIM?
    • Do we have travel insurance?
    • How much are we allocating for shopping?

    Once you’ve answered these questions, your Korea trip becomes much easier to plan.


    Final WanderMapped Take

    South Korea doesn’t have to be an intimidating destination.

    You don’t need a perfect Korean vocabulary.

    You don’t need to join a package tour.

    And you definitely don’t need to spend a fortune.

    What you do need is a good plan.

    Choose the right neighborhood.

    Build a realistic itinerary.

    Understand your transportation.

    Set your budget.

    And leave some room for those unexpected moments that become your favorite memories.

    Whether you’re traveling with your family, your barkada, your partner, or your K-pop-loving teenager…

    Korea is waiting.

    And WanderMapped is here to help you get there.


    More WanderMapped Korea Guides

    Planning your Korea trip? Start with these:

    👉 7-Day South Korea Itinerary for Filipino Families

    👉 How Much Does a Trip to South Korea Cost?

    👉 K-Pop Pilgrimage: 3-Day Seoul Itinerary

    👉 The Filipino Traveler’s Guide to Travel Insurance

    👉 Best Travel Gear for Filipino Families

    Save this guide, share it with your travel group, and come back when you’re ready to plan the next part of your Korean adventure.

    Travel smart. Spend wisely. Wander farther.

  • The Filipino Traveler’s Guide to Travel Insurance (2026 Edition): What You Really Need Before Your Next Trip

    Everything Filipino travelers need to know about travel insurance—without the confusing jargon.

    You’ve booked your flights.

    Your hotel is confirmed.

    Your itinerary is ready.

    Now comes the question many travelers skip:

    “Kailangan ko ba talaga ng travel insurance?”

    For years, I honestly thought travel insurance was just another unnecessary expense. But after seeing flight cancellations, delayed baggage, medical emergencies, and unexpected weather disruptions affect travelers, I realized something…

    Travel insurance isn’t about expecting something bad to happen—it’s about protecting your travel investment.

    Whether you’re traveling within the Philippines or heading overseas, here’s everything you need to know before buying travel insurance in 2026.


    Do You Really Need Travel Insurance?

    The short answer?

    YES—for most trips.

    Travel insurance can protect you from expenses caused by:

    ✔ Flight cancellations
    ✔ Medical emergencies
    ✔ Lost luggage
    ✔ Delayed baggage
    ✔ Trip interruptions
    ✔ Emergency evacuation

    For international travel, it’s even more important because healthcare abroad can be very expensive.


    When Should You Buy Travel Insurance?

    The best time is…

    Immediately after booking your flights.

    Why?

    Some policies include coverage for trip cancellations before you even leave the Philippines.

    Waiting until the last minute could mean missing out on certain benefits.


    Domestic vs International Travel Insurance

    Domestic Travel

    Travel insurance is optional but recommended if you’re:

    • Flying to another island
    • Taking ferries
    • Visiting during typhoon season
    • Traveling with children or senior citizens

    International Travel

    Highly recommended.

    Some countries even require proof of travel insurance before entry.

    Medical treatment overseas can easily cost hundreds of thousands of pesos.


    What Should Travel Insurance Cover?

    Look for policies that include:

    ✔ Medical Expenses

    The most important benefit.

    Should include:

    • Hospitalization
    • Doctor consultations
    • Emergency treatment
    • Prescription medicines

    Emergency Medical Evacuation

    If you need to be transported to another hospital—or even flown back to the Philippines—this benefit can save you a significant amount of money.


    Trip Cancellation

    If illness, emergencies, or other covered events force you to cancel your trip, you may recover some prepaid expenses.


    Trip Delay

    Flights get delayed.

    Sometimes for hours.

    Sometimes overnight.

    Travel insurance may reimburse:

    • Meals
    • Hotel stays
    • Transportation

    Lost or Delayed Baggage

    Imagine arriving in Japan…

    …but your luggage is still in Manila.

    Insurance may cover the purchase of essential items while waiting for your baggage.


    How Much Does Travel Insurance Cost?

    The good news?

    It’s usually much cheaper than most people think.

    Trip TypeEstimated Premium
    Domestic (3–5 days)₱300–₱800
    Asia (5–7 days)₱800–₱2,000
    Japan / Korea₱1,000–₱2,500
    Europe₱2,000–₱4,500
    USA / Canada₱2,500–₱6,000

    Prices depend on:

    • Destination
    • Length of stay
    • Age
    • Coverage amount

    Should Families Buy One Policy or Individual Policies?

    Many insurers offer:

    ✔ Family plans
    ✔ Individual plans

    For most Filipino families, a family policy can provide better value, but always compare:

    • Coverage limits
    • Age restrictions
    • Included family members

    Travel Insurance Doesn’t Cover Everything

    Many travelers assume insurance covers every situation.

    It doesn’t.

    Common exclusions may include:

    ❌ Pre-existing medical conditions (unless specifically covered)

    ❌ High-risk adventure sports

    ❌ Lost belongings caused by negligence

    ❌ Incidents related to intoxication

    Always read the policy wording before purchasing.


    Why Filipinos Should Seriously Consider Travel Insurance

    Living in the Philippines means we experience:

    • Typhoons
    • Flight disruptions
    • Ferry cancellations
    • Volcanic activity

    These events can affect both domestic and international trips.

    Travel insurance provides an extra layer of protection when travel plans change unexpectedly.


    WanderMapped Tips Before Buying Travel Insurance

    ✔ Compare coverage—not just price.

    ✔ Read the exclusions.

    ✔ Keep digital and printed copies of your policy.

    ✔ Save emergency hotline numbers on your phone.

    ✔ Check whether your credit card already includes complimentary travel insurance when you use it to purchase airline tickets.


    Is Travel Insurance Worth It?

    In my opinion…

    Yes.

    Hopefully, you’ll never need to use it.

    But if something unexpected happens, you’ll be glad you have it.

    Think of it as paying a little today to avoid paying a lot tomorrow.


    WanderMapped’s Travel Insurance Checklist

    Before every trip, ask yourself:

    ✅ Do I have medical coverage?

    ✅ Does it cover trip cancellation?

    ✅ Is baggage loss included?

    ✅ Do I know the emergency contact number?

    ✅ Have I saved a copy on my phone?

    If you answered “yes” to all five, you’re ready to travel with greater peace of mind.


    Final Thoughts

    Travel isn’t just about reaching your destination.

    It’s about enjoying the journey with confidence.

    The best souvenirs are memories—not unexpected medical bills or expensive last-minute flight changes.

    Whether you’re exploring the beaches of the Philippines, chasing cherry blossoms in Japan, or visiting your favorite K-pop spots in Seoul, having the right travel insurance lets you focus on what really matters…

    Making unforgettable memories.

    Safe travels from all of us at WanderMapped!


    We’d Love to Hear From You!

    Have you ever had to use travel insurance?

    Did it help—or do you have a lesson you’d like to share? Leave a comment below and help fellow WanderMapped readers travel smarter.

  • How to Plan a 5-Day Japan Trip from the Philippines (2026 Guide for First-Time Travelers)

    A realistic, budget-friendly Japan itinerary planning guide for Filipino travelers

    Japan is one of the most exciting destinations for Filipino travelers — clean cities, efficient transport, amazing food, anime culture, beautiful scenery, and surprisingly safe for families and first-time travelers.

    But let’s be honest:
    Planning a Japan trip can feel overwhelming at first.

    Questions like:

    • “Magkano kailangan?”
    • “JR Pass ba or not?”
    • “Tokyo or Osaka?”
    • “Kaya ba ng DIY?”

    …can make first-time travelers panic before even booking flights.

    This 2026 WanderMapped Japan Planning Guide simplifies everything for Filipino travelers who want a realistic, practical, and budget-aware approach to planning a 5-day Japan trip.

    Perfect for:
    ✔ First-time Japan travelers
    ✔ Filipino families
    ✔ Couples and barkada trips
    ✔ DIY travelers on a budget


    Why Japan Is Worth Visiting for Filipinos

    ✔ Extremely safe
    ✔ Efficient transportation
    ✔ Clean and organized
    ✔ Amazing food everywhere
    ✔ Great for kids, teens, and adults
    ✔ Easy DIY travel once you understand the basics


    Step 1 — Japan Visa for Filipinos (2026)

    Filipinos still need a tourist visa to enter Japan.

    Basic Requirements:

    ✔ Passport
    ✔ Bank certificate
    ✔ Employment documents / proof of income
    ✔ Flight itinerary
    ✔ Hotel bookings

    Processing Time:

    Usually 5–10 working days

    WanderMapped Tip:

    Apply at least 2-3 months before travel to avoid stress.


    Step 2 — Find Cheap Flights from the Philippines

    Cheapest Routes:

    • Manila → Osaka
    • Manila → Tokyo
    • Cebu → Osaka (sometimes cheaper during promos)

    Budget Estimate:

    Flight TypeEstimated Cost
    Seat Sale₱8,000–₱15,000
    Regular Fare₱18,000–₱30,000

    Best Months for Cheap Flights:

    ✔ February
    ✔ June
    ✔ September

    Avoid:
    ✘ Golden Week
    ✘ Cherry Blossom peak season
    ✘ Christmas/New Year


    Step 3 — Choose Your Base City

    For a 5-day trip, don’t overcomplicate things.


    Tokyo (Best for First-Timers)

    ✔ Anime & shopping
    ✔ Disneyland
    ✔ Modern attractions
    ✔ Easy train access

    Best for:

    • Families with teens
    • First-time visitors
    • K-pop & anime fans

    🏯 Osaka (Best for Food + Relaxed Travel)

    ✔ Universal Studios Japan
    ✔ Cheaper food
    ✔ Day trips to Kyoto/Nara

    Best for:

    • Families
    • Budget travelers
    • Food lovers

    🚆 Step 4 — Understand Japan Transportation

    Japan transport looks scary… but it’s manageable.

    Best Apps:

    ✔ Google Maps
    ✔ Japan Travel by Navitime

    IC Cards:

    • Suica
    • ICOCA
    • Pasmo

    These work like beep cards.


    Should You Buy a JR Pass?

    YES if:

    ✔ Multiple long-distance train rides
    ✔ Visiting several cities

    NO if:

    ✔ Staying mostly in one city (recommended for 5 days)

    For most 5-day first-timers:
    Skip JR Pass and use IC cards instead.


    Sample 5-Day Japan Itinerary (First-Timer Friendly)


    DAY 1 — Arrival + City Exploration

    Suggested Activities:

    • Shibuya Crossing / Dotonbori
    • Convenience store food crawl
    • Relax after flight

    DAY 2 — Theme Park Day

    Tokyo Option:

    Disneyland / DisneySea

    Osaka Option:

    Universal Studios Japan


    DAY 3 — Culture + Landmarks

    Tokyo:

    • Asakusa Temple
    • Tokyo Skytree

    Osaka/Kyoto:

    • Fushimi Inari
    • Arashiyama

    DAY 4 — Shopping + Free Day

    Popular spots:
    ✔ Don Quijote
    ✔ Uniqlo
    ✔ Anime stores
    ✔ Pokémon Center


    DAY 5 — Last-Minute Shopping + Departure

    ✔ Airport early
    ✔ Tax-free shopping
    ✔ Pasalubong time


    How Much Does Food Cost in Japan?

    Budget Meals:

    ₱250–₱500
    (Ramen, gyudon, curry rice)

    Convenience Store Meals:

    ₱150–₱300

    Family Restaurants:

    ₱500–₱1,200

    WanderMapped Tip:

    Japan convenience store food is LEGIT good.


    Accommodation Budget (2026)

    Accommodation TypeEstimated Cost
    Hostel₱1,200–₱2,000
    Budget Hotel₱2,500–₱5,000
    Family Room₱5,000–₱9,000

    Estimated Total Budget (Per Person — 5 Days)

    Travel StyleBudget
    Budget₱35,000–₱50,000
    Mid-range₱55,000–₱80,000
    Comfort₱90,000+

    What Filipino Travelers Should Pack

    ✔ Comfortable shoes
    ✔ Universal adapter
    ✔ Powerbank
    ✔ Small umbrella
    ✔ Extra medicine
    ✔ Coins pouch (Japan uses lots of coins)

    If you’re looking for travel gear etc., please check out my other blog post Best Travel Gear for Filipino Families (2026 Review): Luggage, Powerbanks, and Essentials That Are Worth It.


    Best Time to Visit Japan (2026)

    Spring (March–April)

    Cherry blossoms + cool weather

    Summer (June–August)

    Festivals but hot & humid

    Autumn (October–November)

    Beautiful leaves + cooler weather

    Winter (December–February)

    Snow + illuminations


    Money-Saving Tips for Filipino Travelers

    ✔ Book flights early
    ✔ Stay near train stations
    ✔ Use convenience stores for breakfast
    ✔ Avoid taxis
    ✔ Travel with flexible dates


    Is Japan Family-Friendly?

    VERY.

    ✔ Safe streets
    ✔ Clean public toilets
    ✔ Organized train systems
    ✔ Respectful culture

    Even first-time international travelers usually adapt quickly.


    Your Turn!

    Planning your first Japan trip in 2026?
    Tell me:

    • Tokyo or Osaka?
    • Budget range
    • Travel month

    And I’ll help you plan the perfect itinerary — WanderMapped style!

  • 7-Day Visayas Itinerary (Bacolod to Siquijor) – Budget Travel Guide 2026

    (updated for 2026)

    Planning a budget-friendly trip around the Visayas? This 7-day Bacolod to Siquijor itinerary is designed for Filipino travelers who want to explore more while spending less.

    In this guide, you’ll get a day-by-day route, estimated costs, transportation tips, and practical advice to help you travel smoothly across Bacolod, Dumaguete, and Siquijor—without the stress.

    Quick Travel Summary

    • Route: Bacolod → Dumaguete → Siquijor
    • Duration: 7 Days / 6 Nights
    • Estimated Budget: ₱8,000 – ₱15,000 per person
    • Best For: Budget travelers, DIY trips
    • Highlights: Beaches, waterfalls, island vibes

    Why This Route Works

    This route is perfect because:

    • Ferry connections are easy and affordable
    • Destinations are close to each other
    • You experience both city + island life

    DAY-BY-DAY ITINERARY

    Day 1: Arrival in Bacolod

    Start your trip in Bacolod, the City of Smiles.

    What to do:

    • Visit The Ruins
    • Try local food (chicken inasal!)
    • Walk around the city

    Budget:

    • Food: ₱300–₱500
    • Transport: ₱150–₱300

    💡 Tip: Use jeepneys or tricycles to save money.

    Day 2: Bacolod → Dumaguete

    Travel day, but still exciting.

    How to get there:

    • Bus + ferry combo (common route)
    • Travel time: ~4–6 hours

    What to do in Dumaguete:

    • Rizal Boulevard walk
    • Night market food trip

    Budget:

    • Transport: ₱500–₱1,000
    • Food: ₱300–₱500

    Day 3: Dumaguete + Apo Island (Optional)

    Option A: Chill day

    • Café hopping
    • Explore local spots

    Option B: Apo Island Tour 🐢

    • Snorkeling with sea turtles
    • Clear waters, amazing marine life

    Budget:

    • Tour: ₱1,000–₱1,500
    • Food: ₱300–₱600

    Day 4: Dumaguete Nature Trip

    Must-visit:

    • Pulangbato Falls
    • Twin Lakes
    • Valencia area

    💡 Tip: Rent a scooter or join a group tour.

    Day 5: Dumaguete → Siquijor

    Island time begins 🌴

    Ferry details:

    • Travel time: ~1 hour
    • Cost: ₱200–₱400

    What to do:

    • Rent a scooter
    • Watch sunset at Paliton Beach

    Day 6: Explore Siquijor

    Top spots:

    • Cambugahay Falls
    • Salagdoong Beach
    • Balete Tree

    💡 Tip: Start early to avoid crowds.

    Day 7: Departure / Return

    Head back to Dumaguete or continue your next destination.

    SAMPLE BUDGET BREAKDOWN

    ExpenseEstimated Cost
    Transport₱1,500 – ₱3,000
    Accommodation₱500 – ₱1,500/night
    Food₱300 – ₱600/day
    Tours₱1,000 – ₱2,000

    TRANSPORTATION TIPS

    • Use jeepneys for short distances
    • Book ferries early during peak season
    • Ask locals for directions—they’re very helpful

    👉 First time commuting? Read my full guide on local transport.

    WHAT TO BRING

    • Light clothes
    • Waterproof bag
    • Cash (some places don’t accept cards)
    • Sunscreen

    IMPORTANT TRAVEL TIPS

    • Always check ferry schedules
    • Bring extra cash
    • Travel light
    • Respect local culture

    FINAL THOUGHTS

    This Bacolod to Siquijor itinerary is one of the best ways to explore the Visayas on a budget.

    You get:

    • Food trips
    • Nature adventures
    • Island vibes

    —all in just one week.

    Want more itineraries like this?

    Subscribe to Wandermapped and get free travel guides + budget tips straight to your inbox.

  • Best Travel Gear for Filipino Families (2026 Review): Luggage, Powerbanks, and Essentials That Are Worth It

    Practical, budget-aware travel gear recommendations for Pinoy families, first-timers, and frequent travelers

    Let’s be honest — packing for a trip can either make your travel smooth… or stressful.

    For Filipino families especially, choosing the right travel gear can save you:
    ✔ Time
    ✔ Money
    ✔ Stress
    ✔ Extra baggage fees

    This 2026 Travel Gear Guide is based on real travel experience, not just trends — focusing on items that are:
    ✔ Useful
    ✔ Durable
    ✔ Budget-friendly
    ✔ Easy to find in the Philippines

    Whether you’re traveling locally or abroad, these are the gear essentials that are actually worth buying.


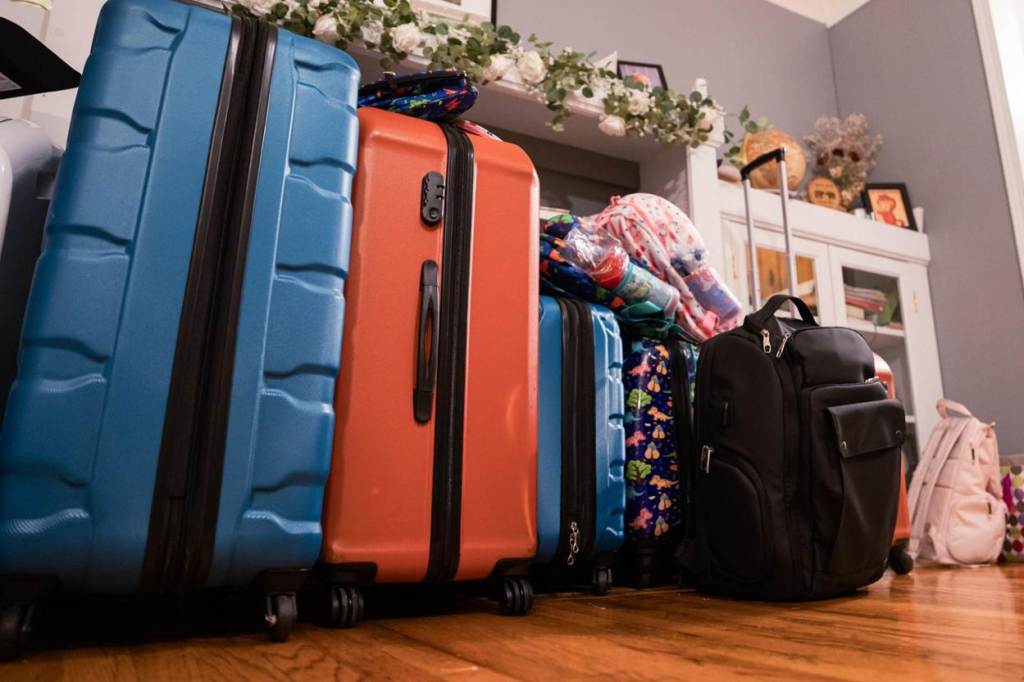
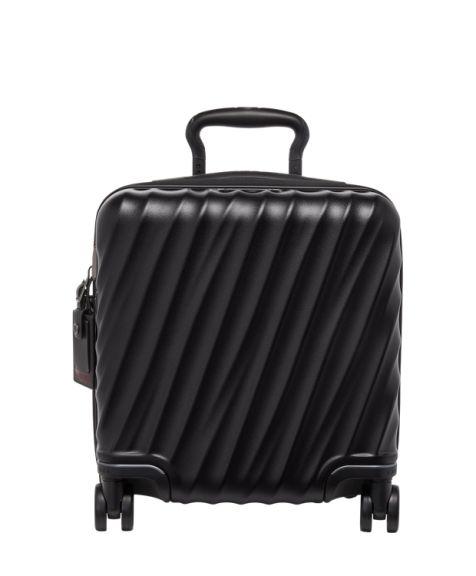
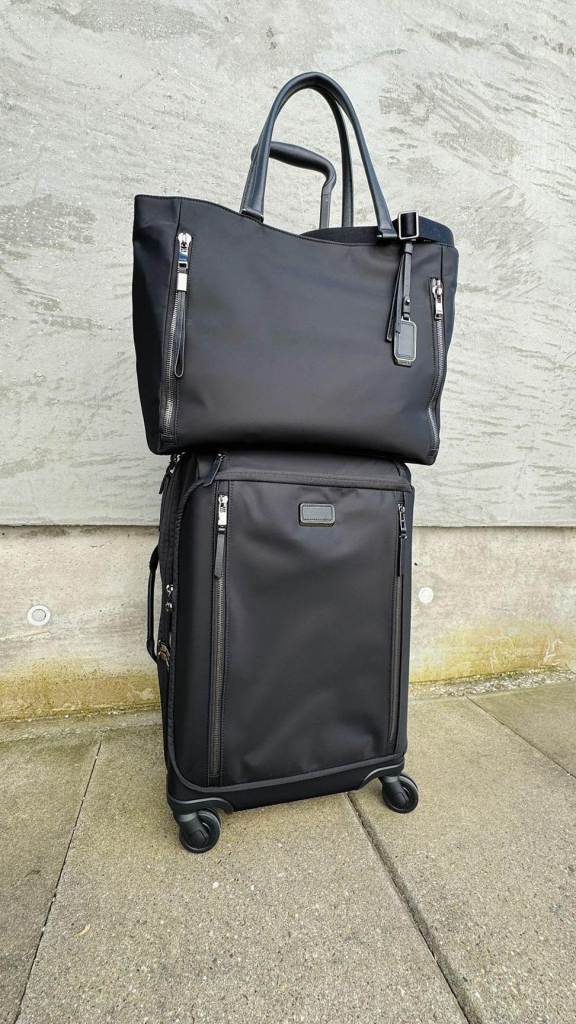
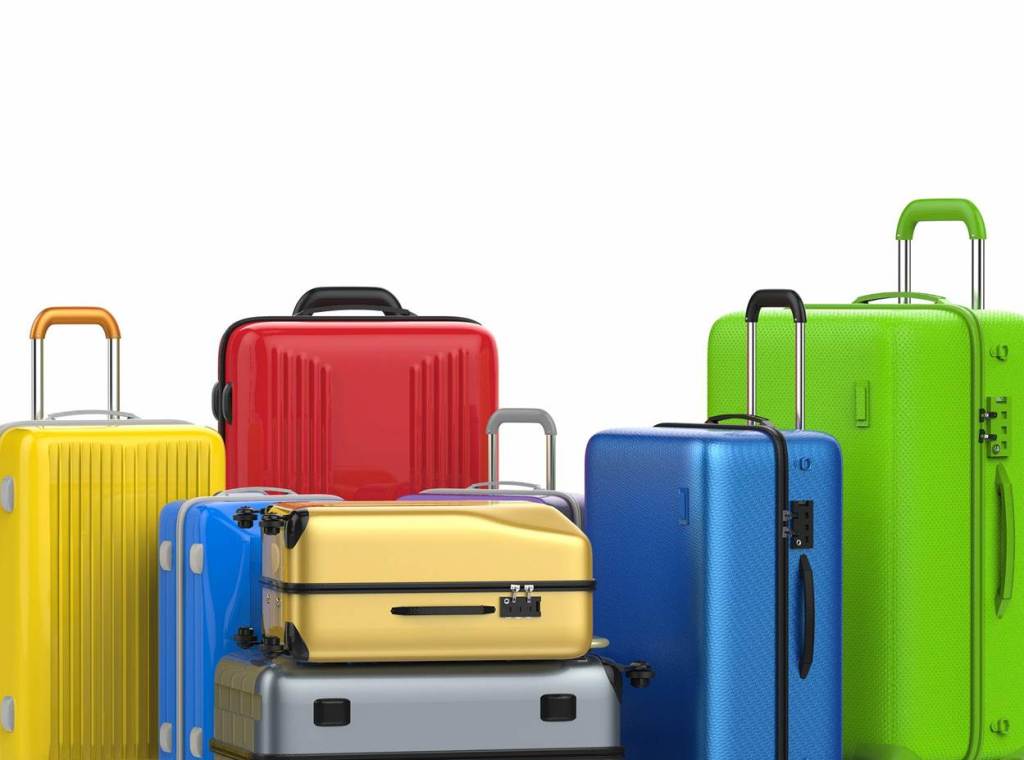
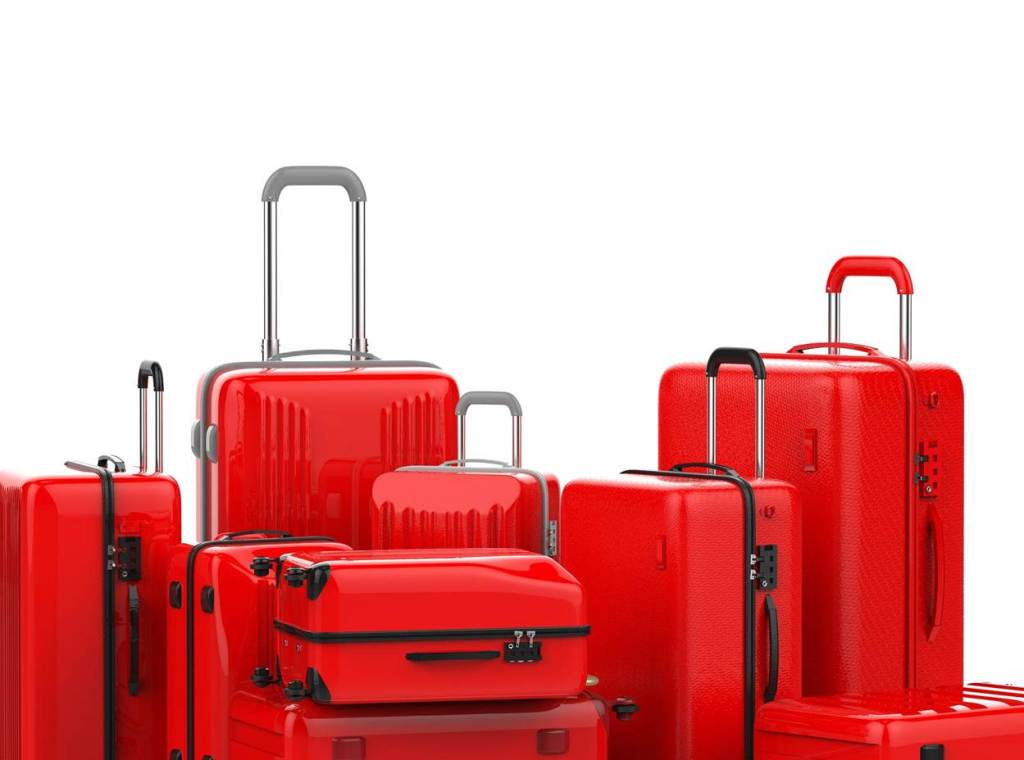
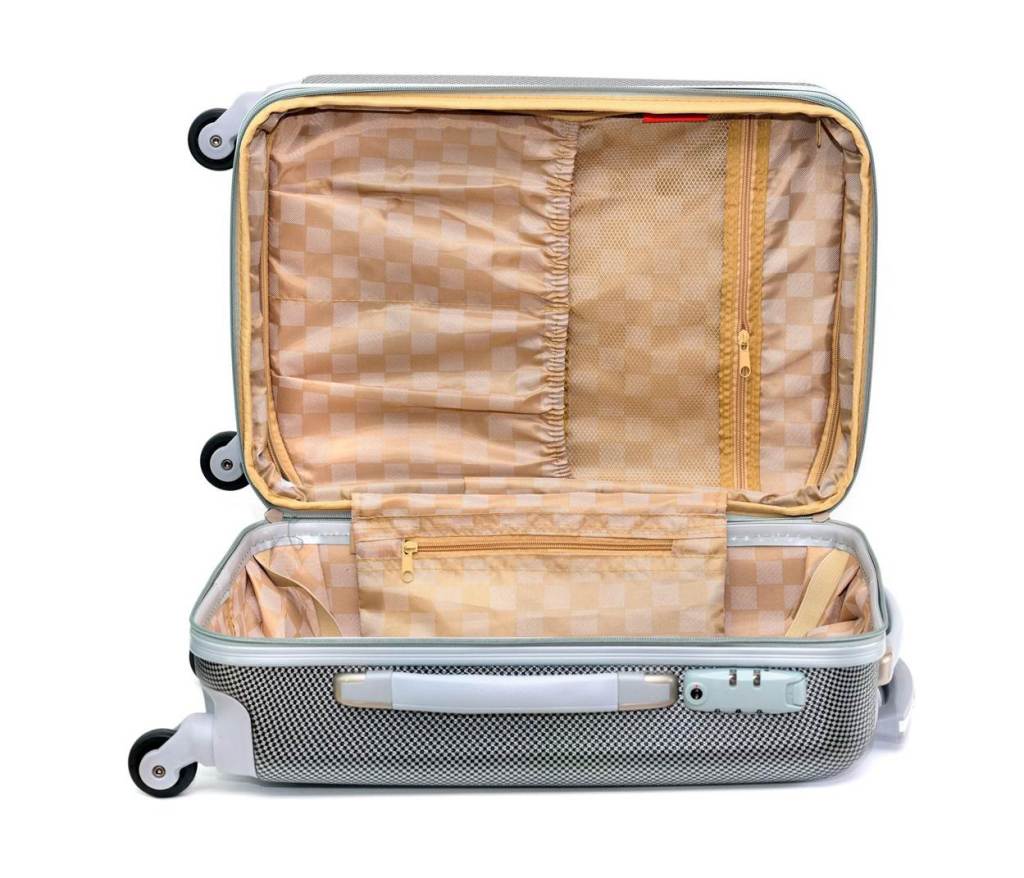
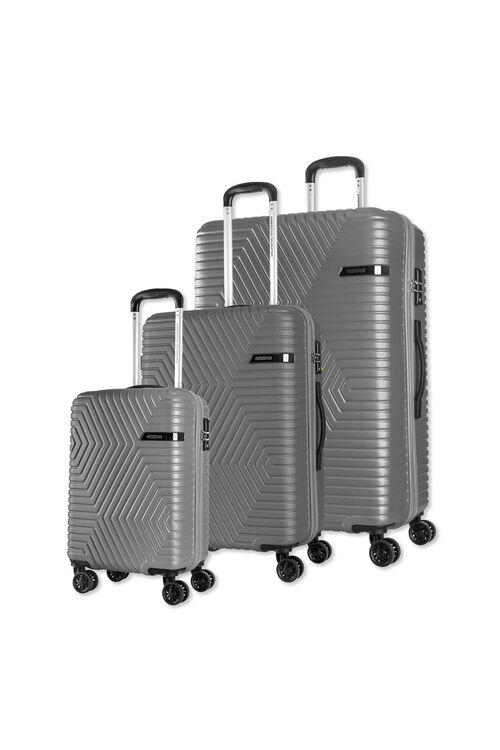
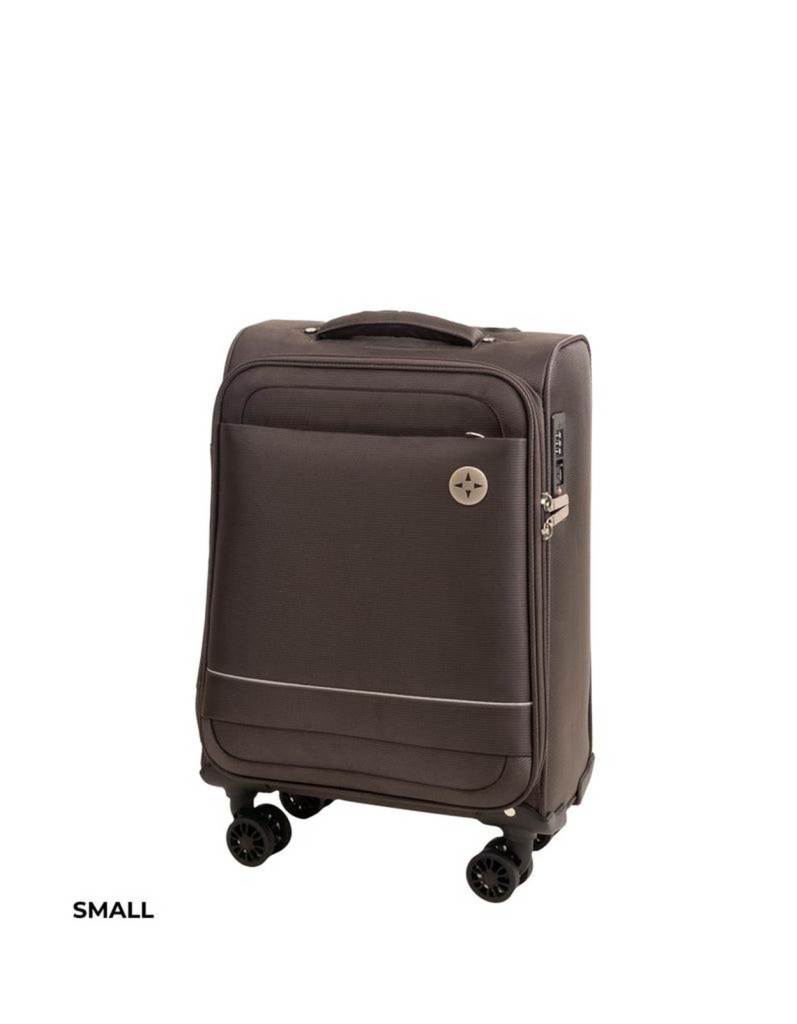
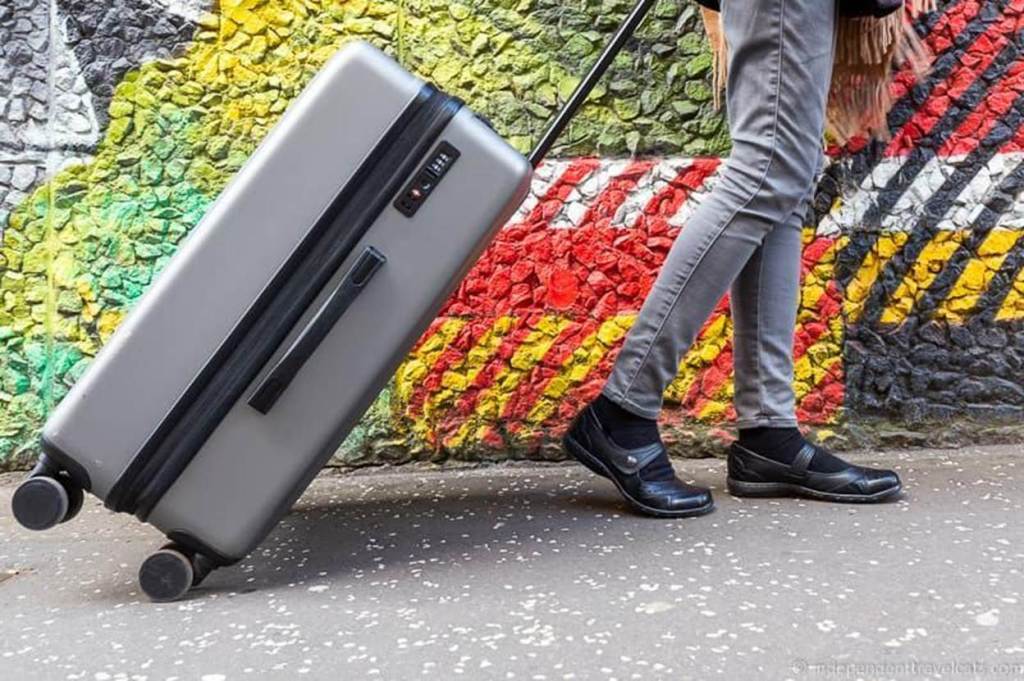
    1. Luggage: Hard Case vs Soft Case (What Filipinos Should Choose)

    Hard Case Luggage (Recommended for most travelers)

    ✔ Protects fragile items
    ✔ Waterproof
    ✔ Looks cleaner longer

    Soft Case Luggage

    ✔ Expandable
    ✔ Lighter
    ✔ More flexible

    WanderMapped Tip:

    For families → 1 large luggage + 1 carry-on per 2 people is ideal.


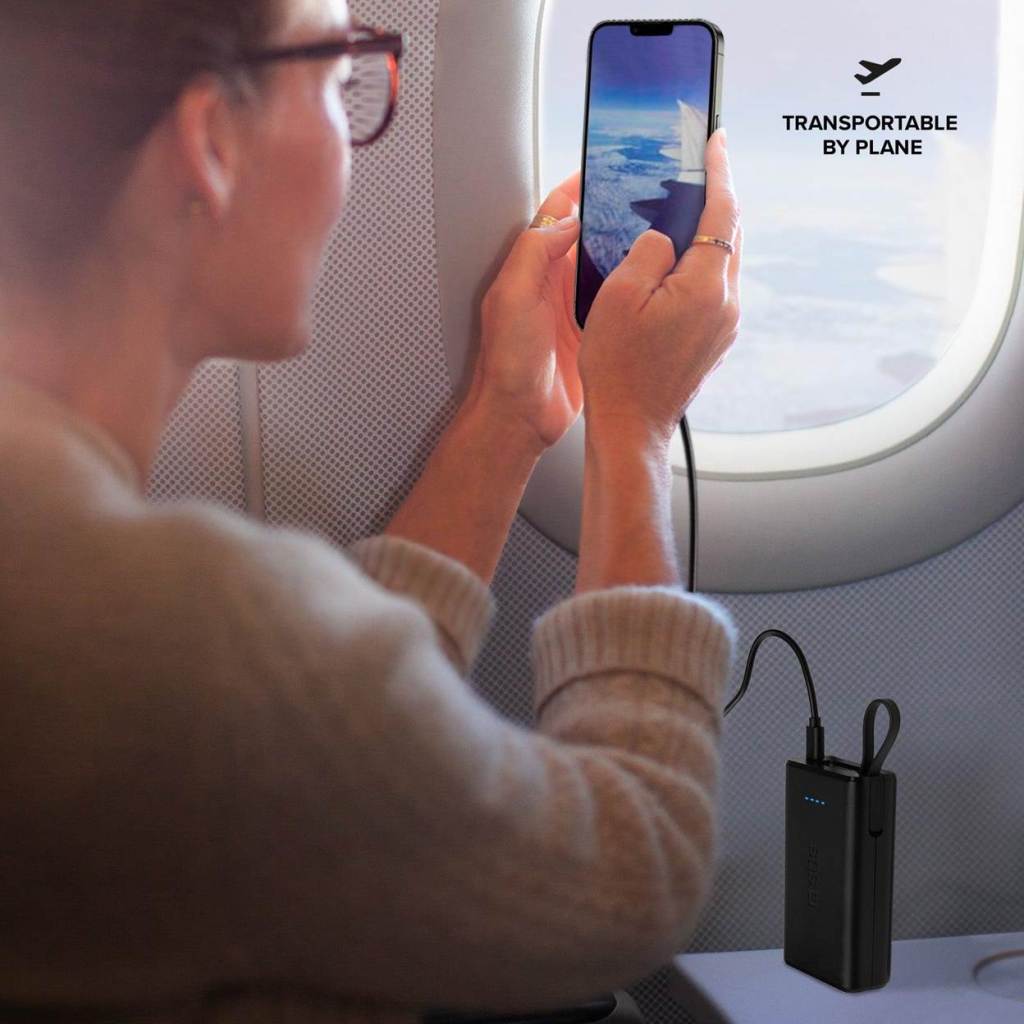
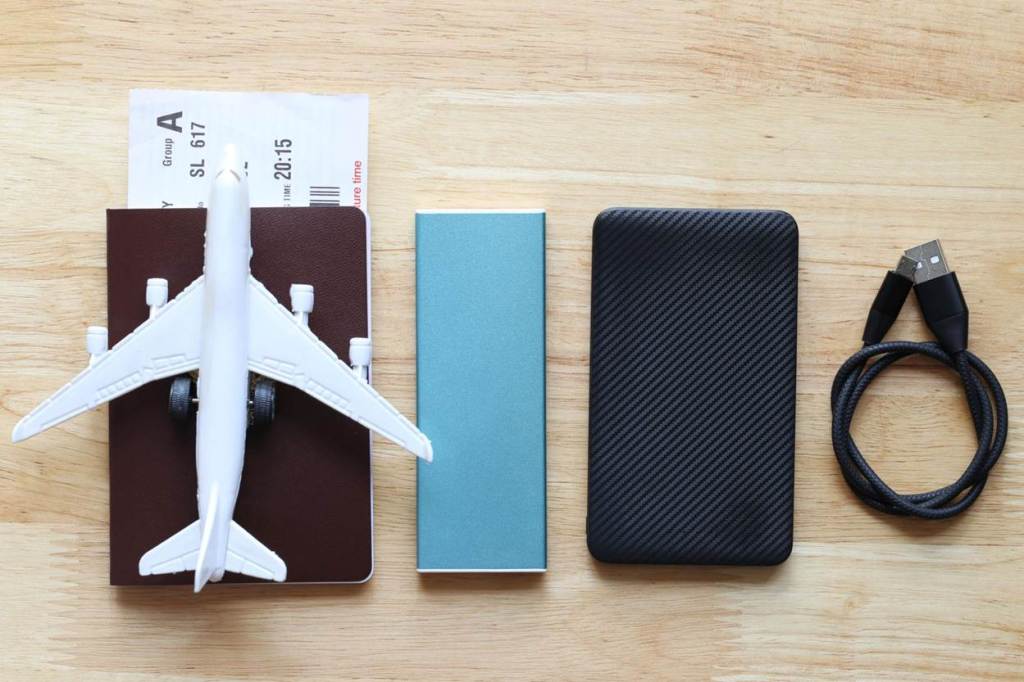
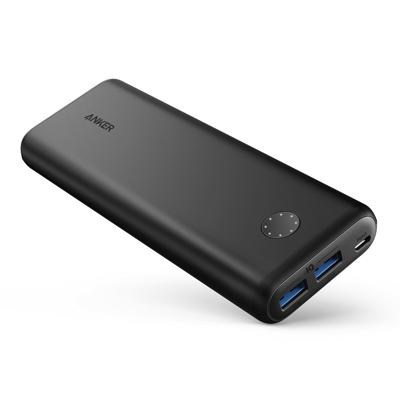
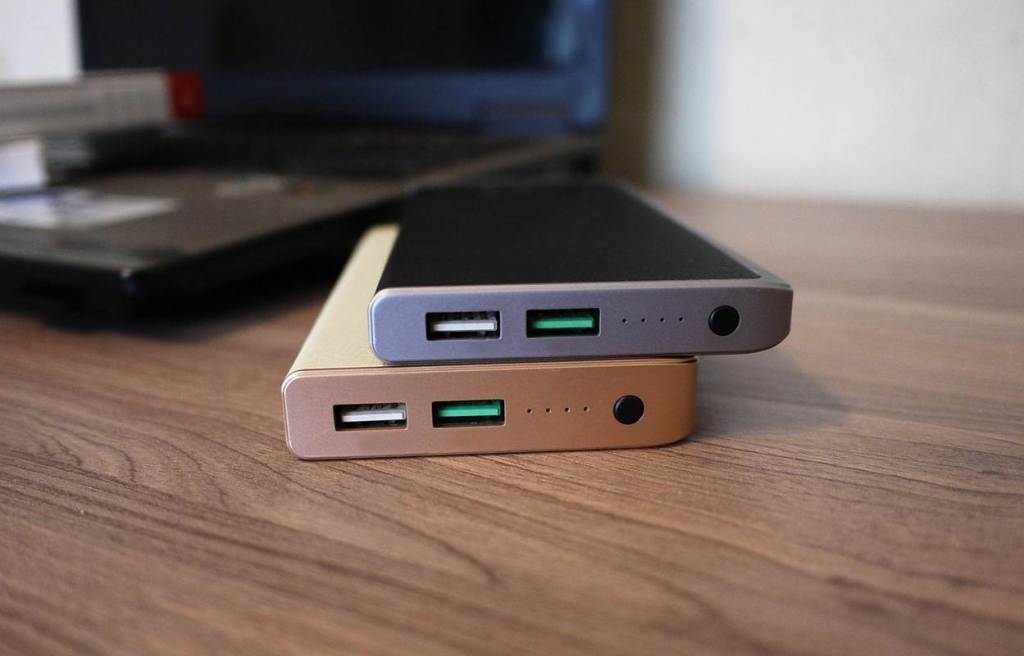
    2. Powerbank (Non-Negotiable Travel Essential)

    Recommended:

    ✔ 10,000–20,000 mAh
    ✔ Airline-approved

    Why it matters:

    • Navigation apps drain battery
    • Kids/teens use phones constantly
    • Emergencies happen

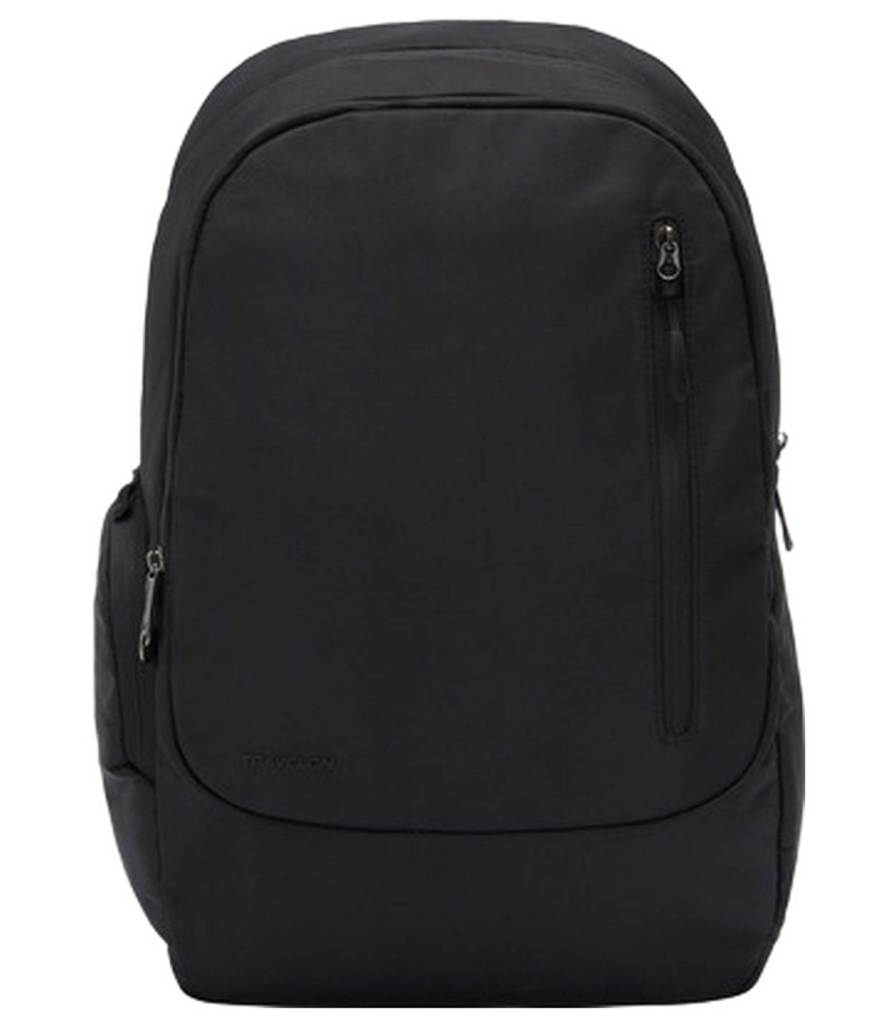
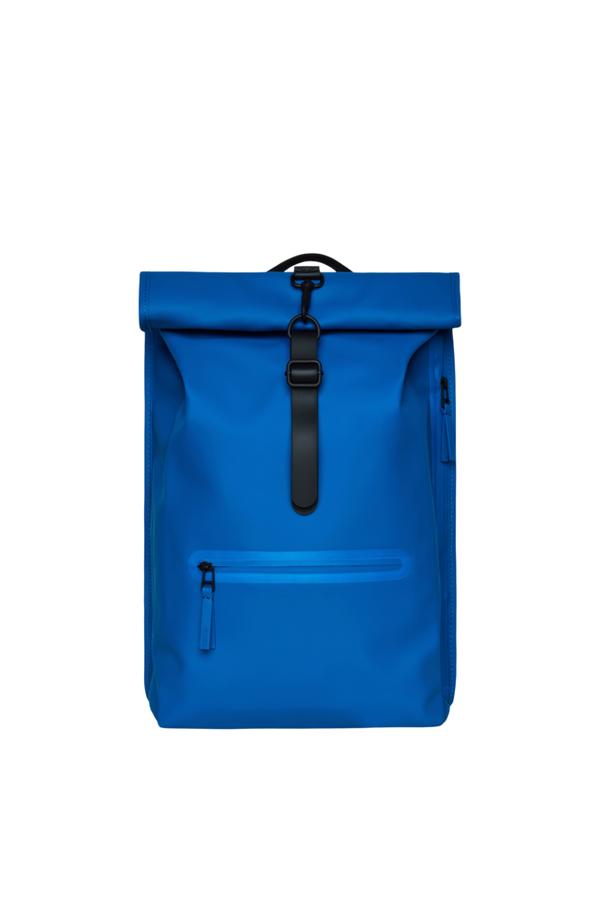
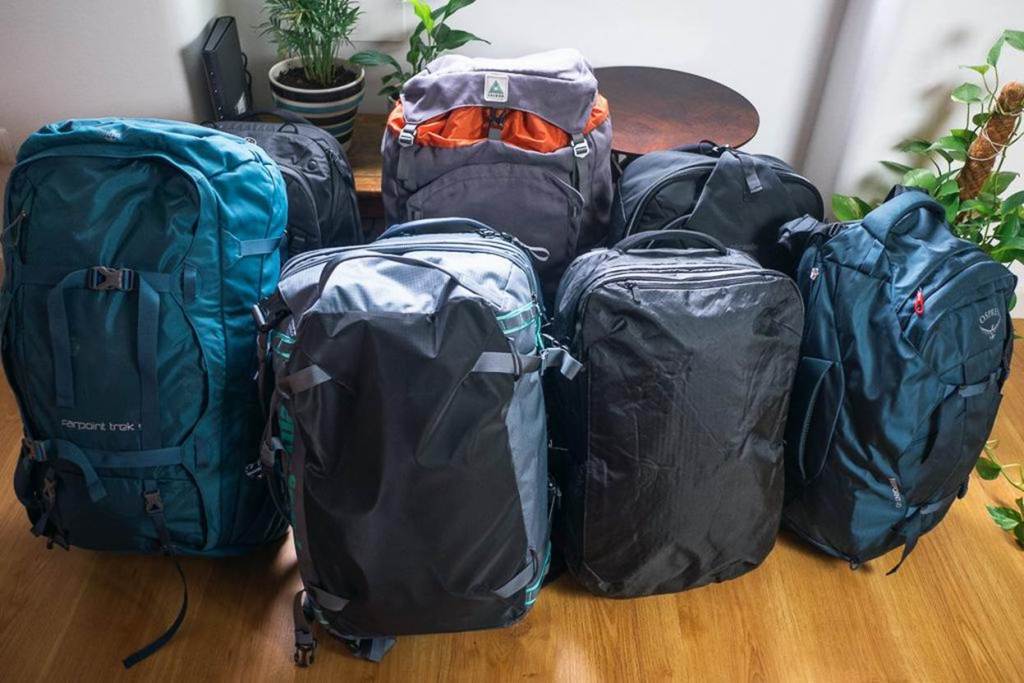
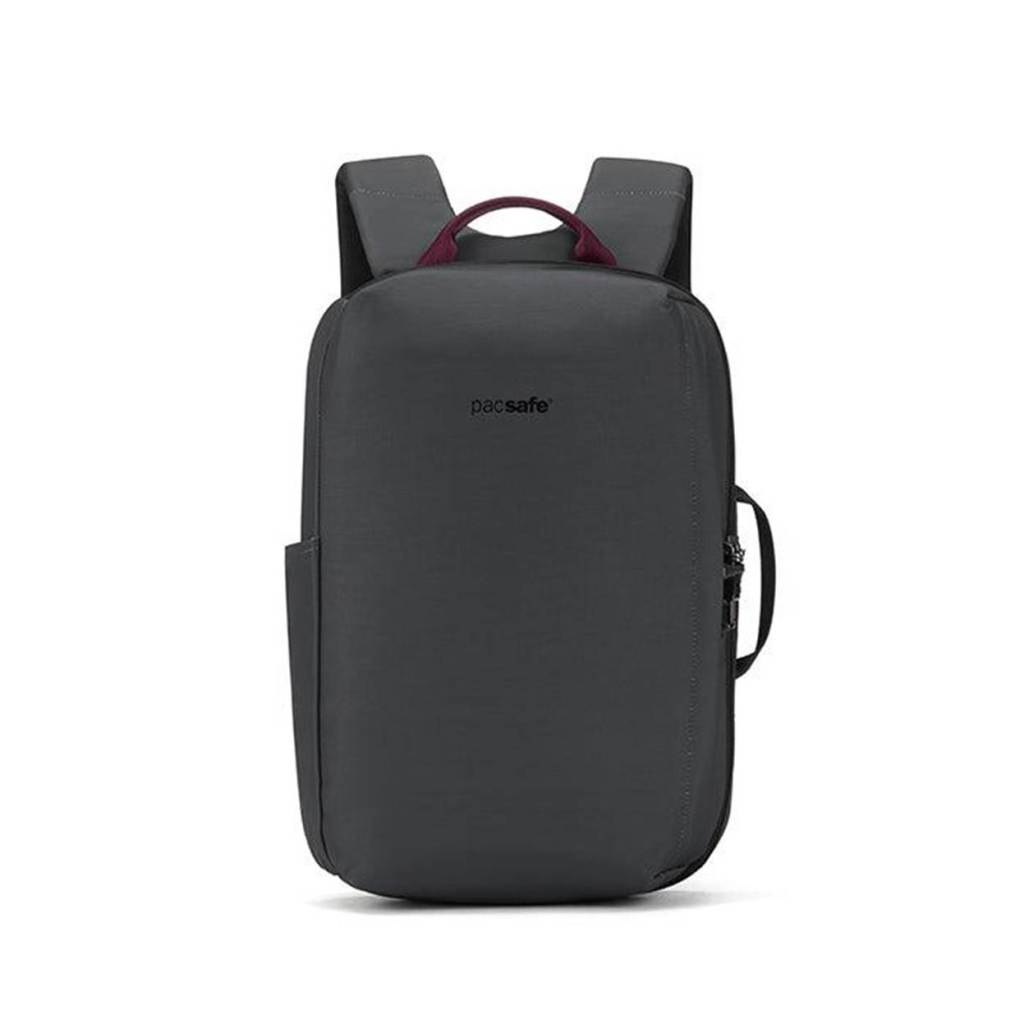
    3. Backpack or Daypack (Your Daily Travel Bag)

    Look for:

    ✔ Lightweight
    ✔ Water-resistant
    ✔ Anti-theft zipper (optional)

    Ideal use:

    • Daily tours
    • Airport carry-on
    • Food/snacks storage

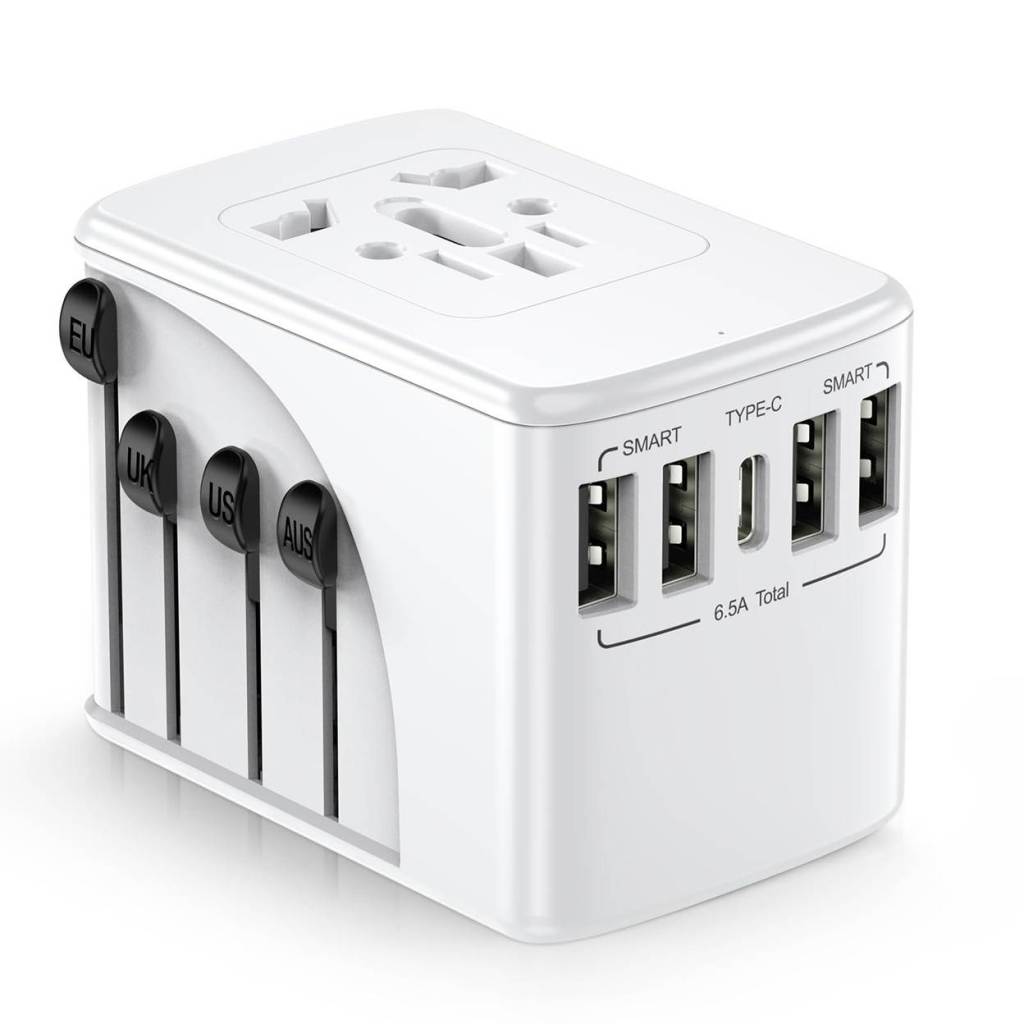
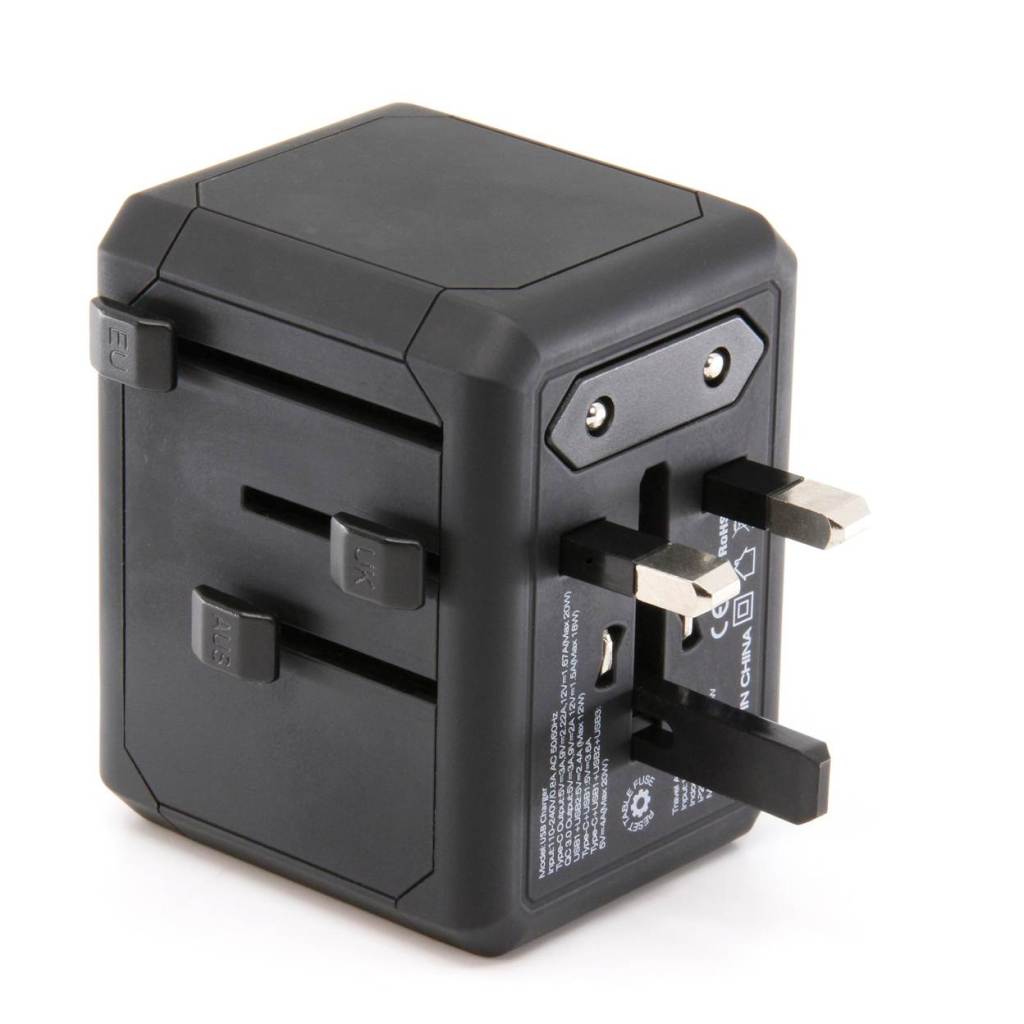
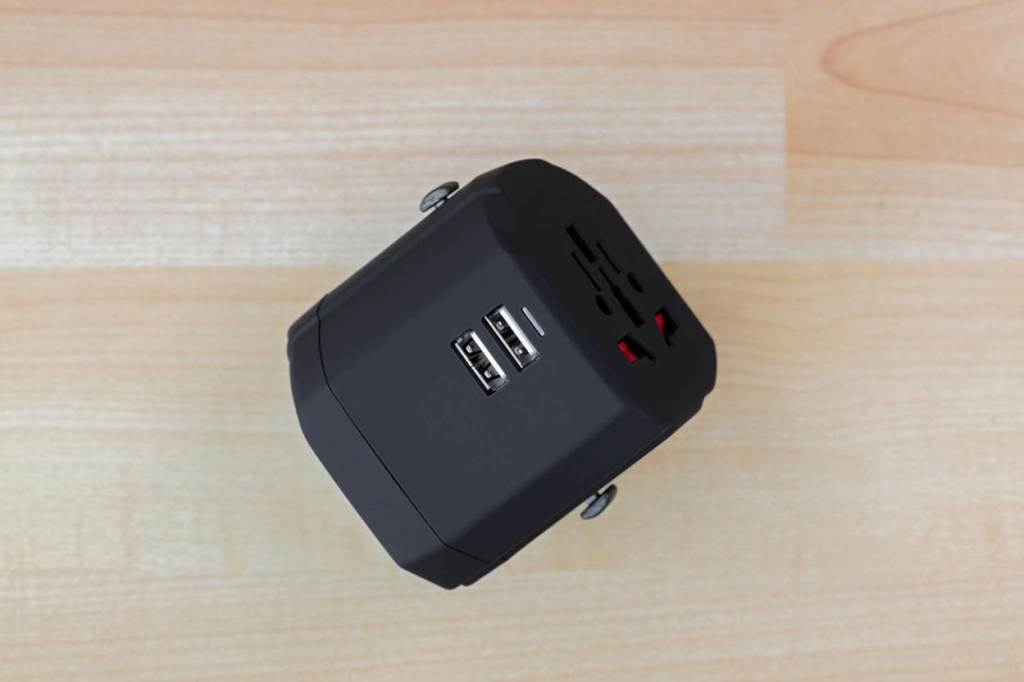
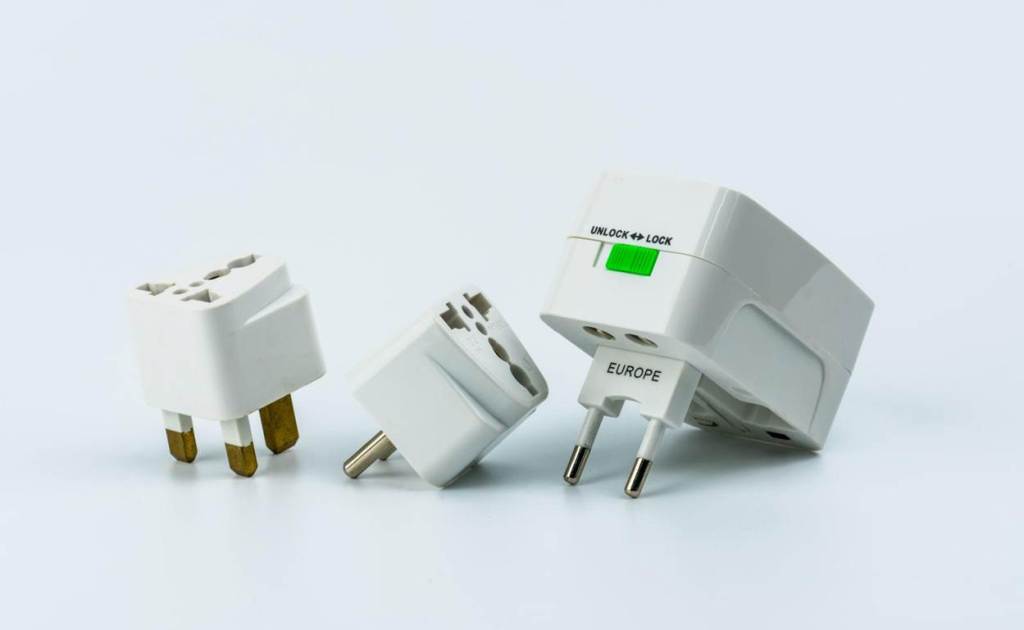
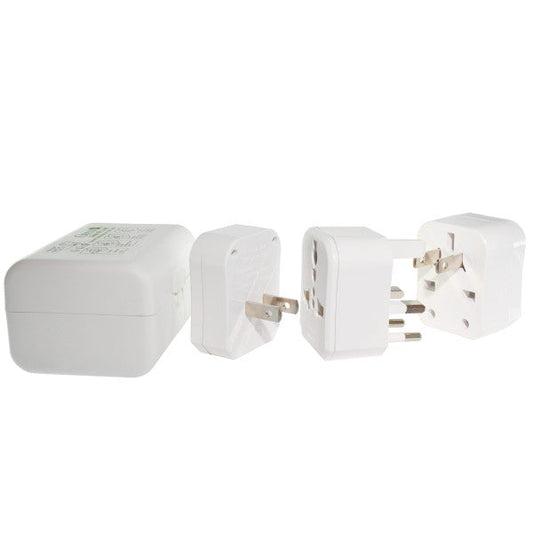
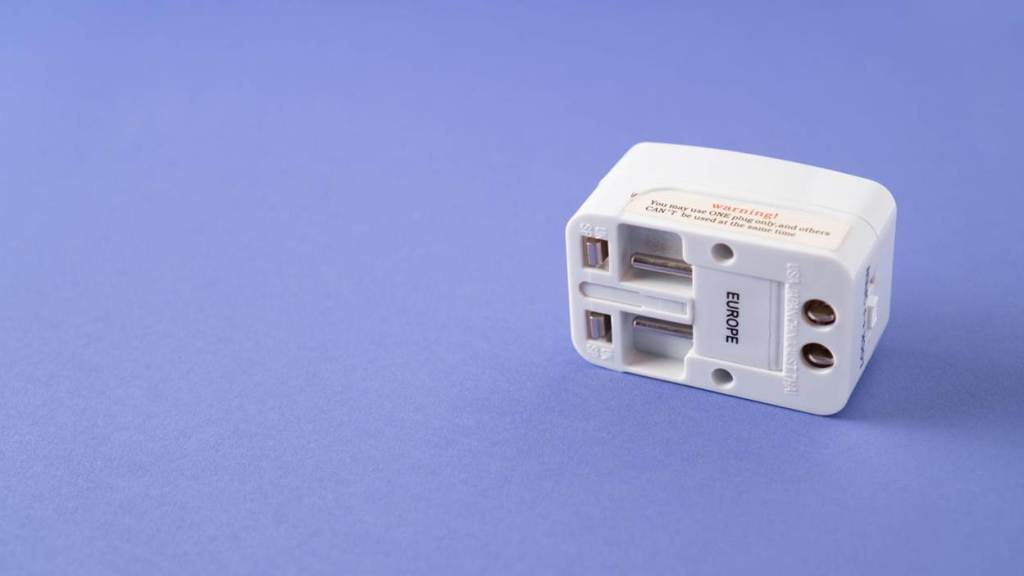
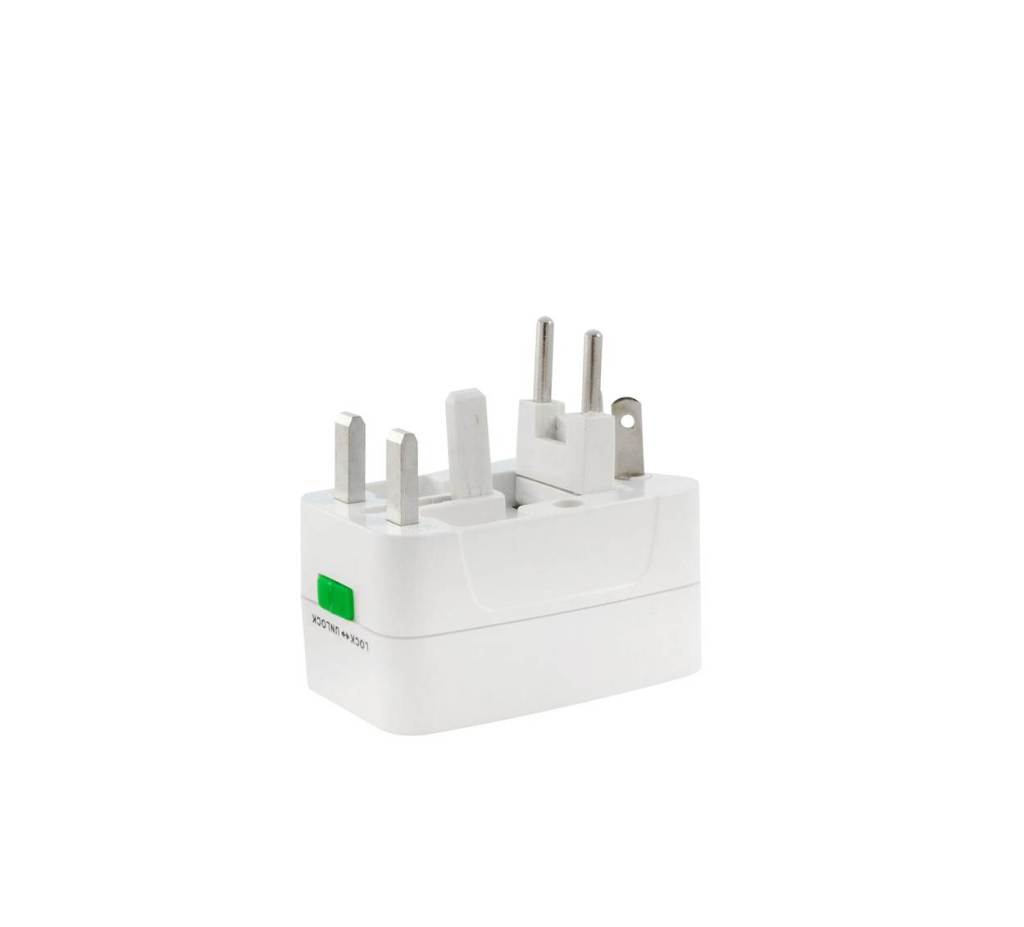
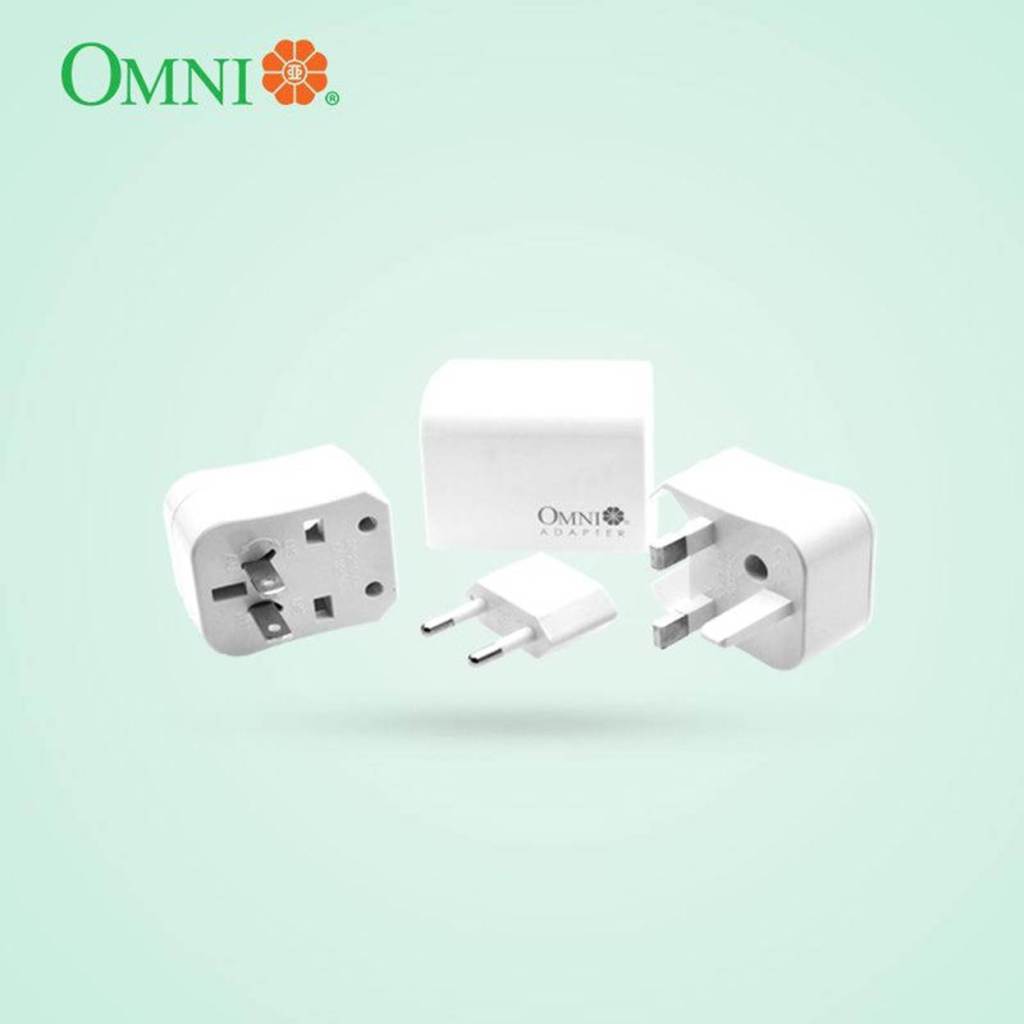
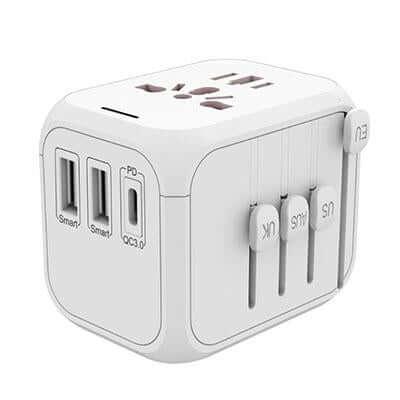
    4. Universal Travel Adapter

    If you’re traveling abroad (Japan, Korea, Europe):

    ✔ Must-have
    ✔ Saves you from buying overpriced adapters abroad


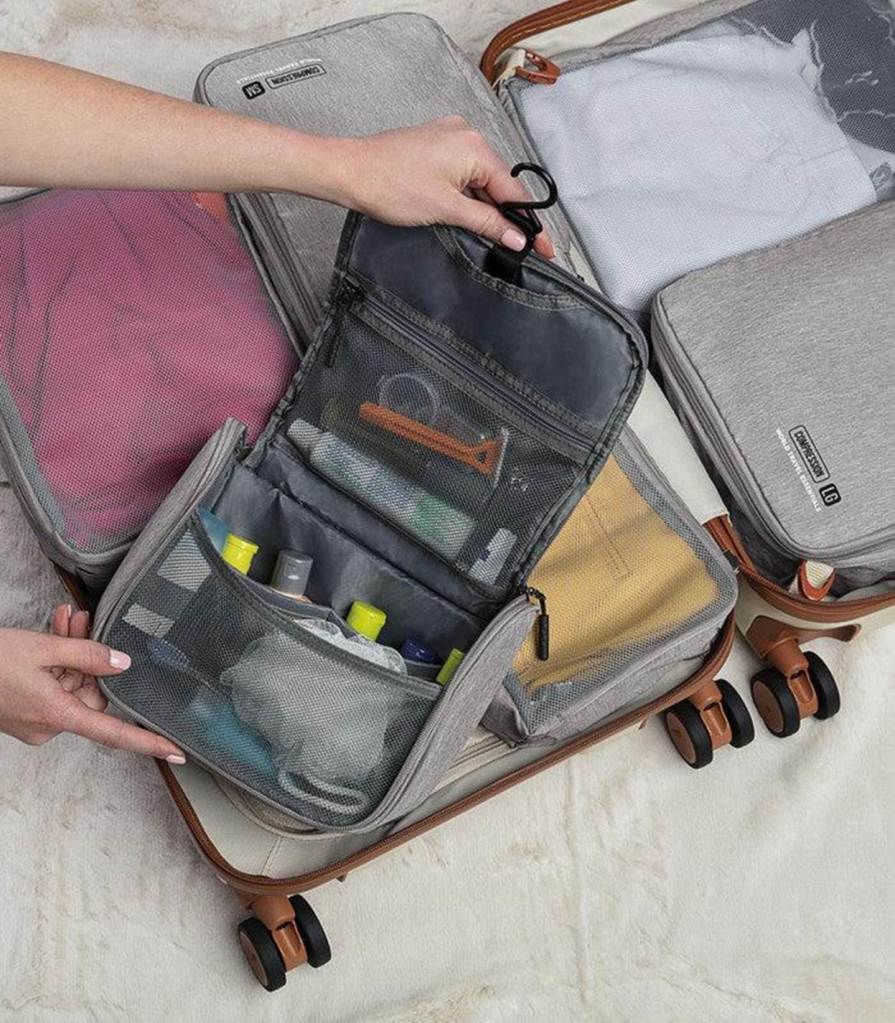
    5. Packing Essentials (Small but Important)

    Recommended:

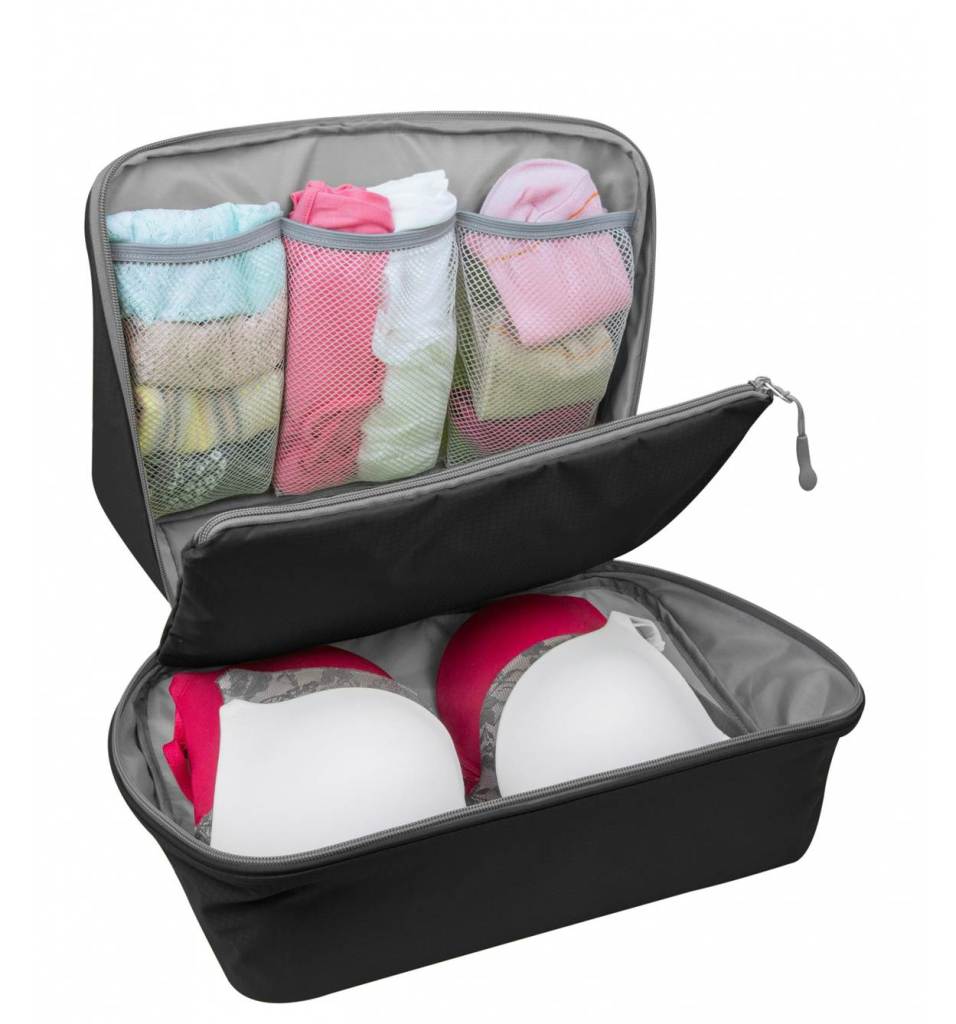
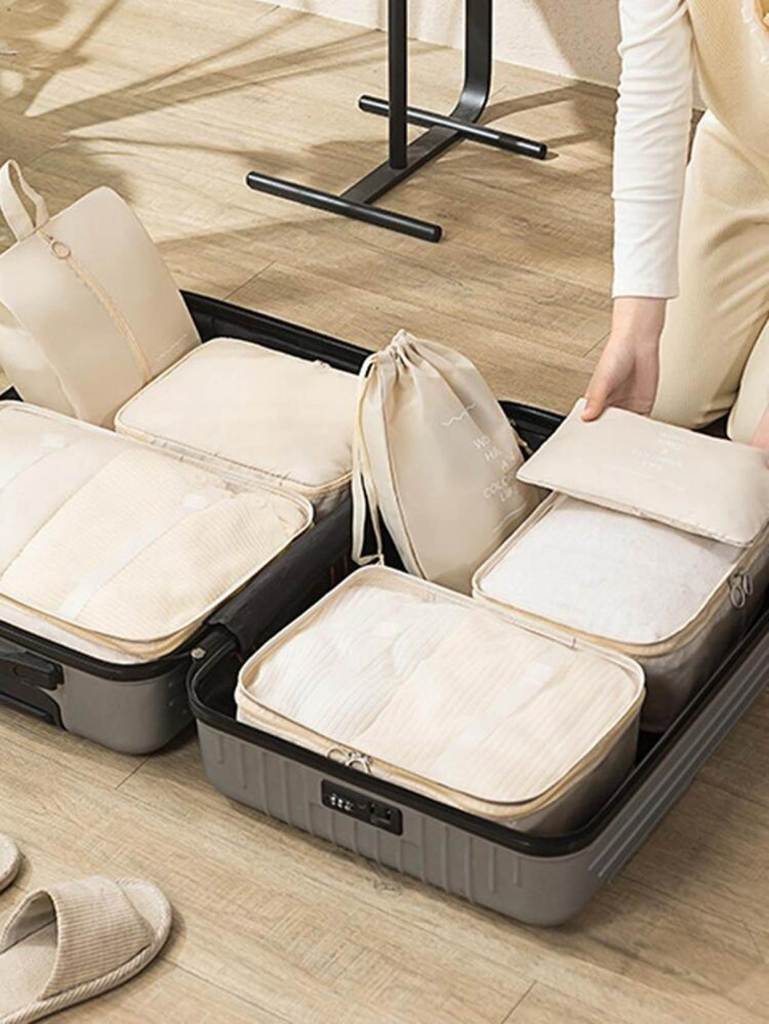
    ✔ Packing cubes
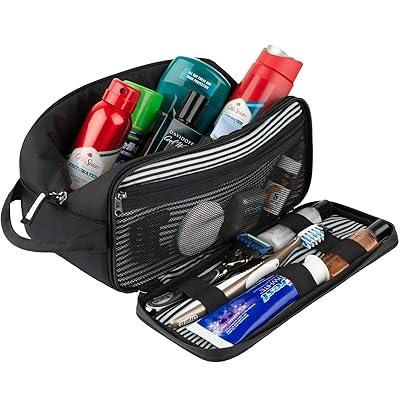
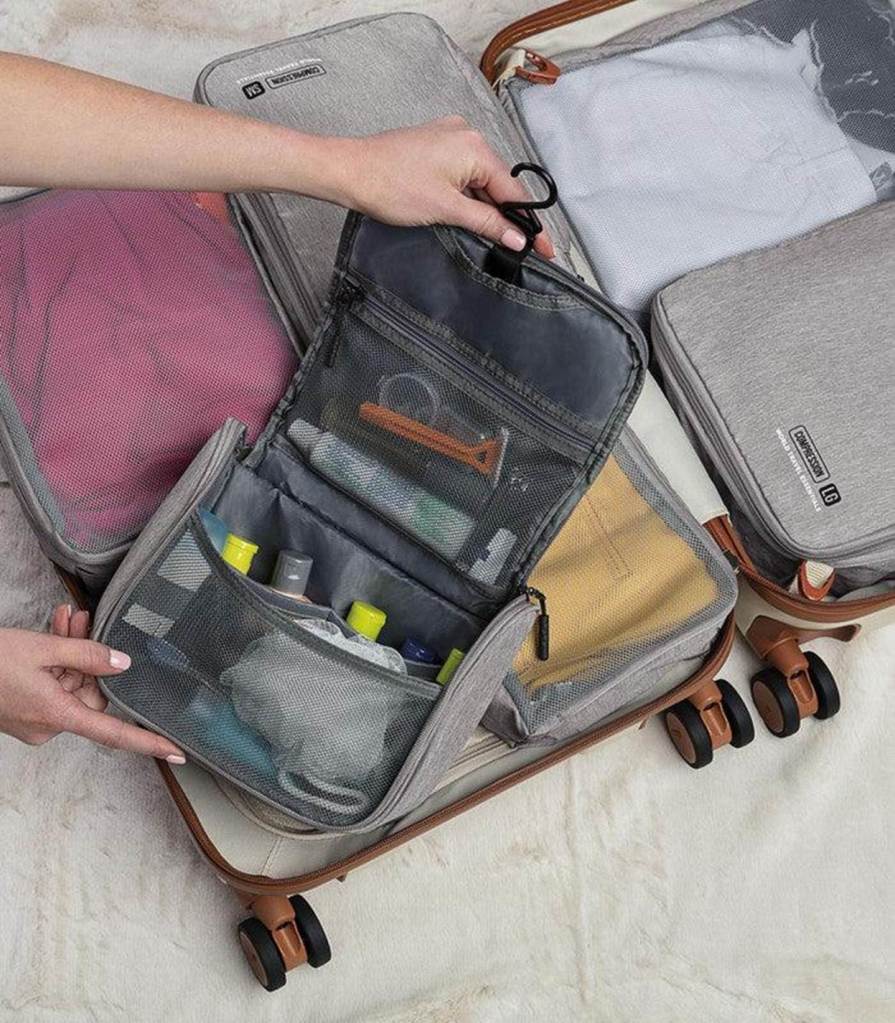
    ✔ Toiletry bag
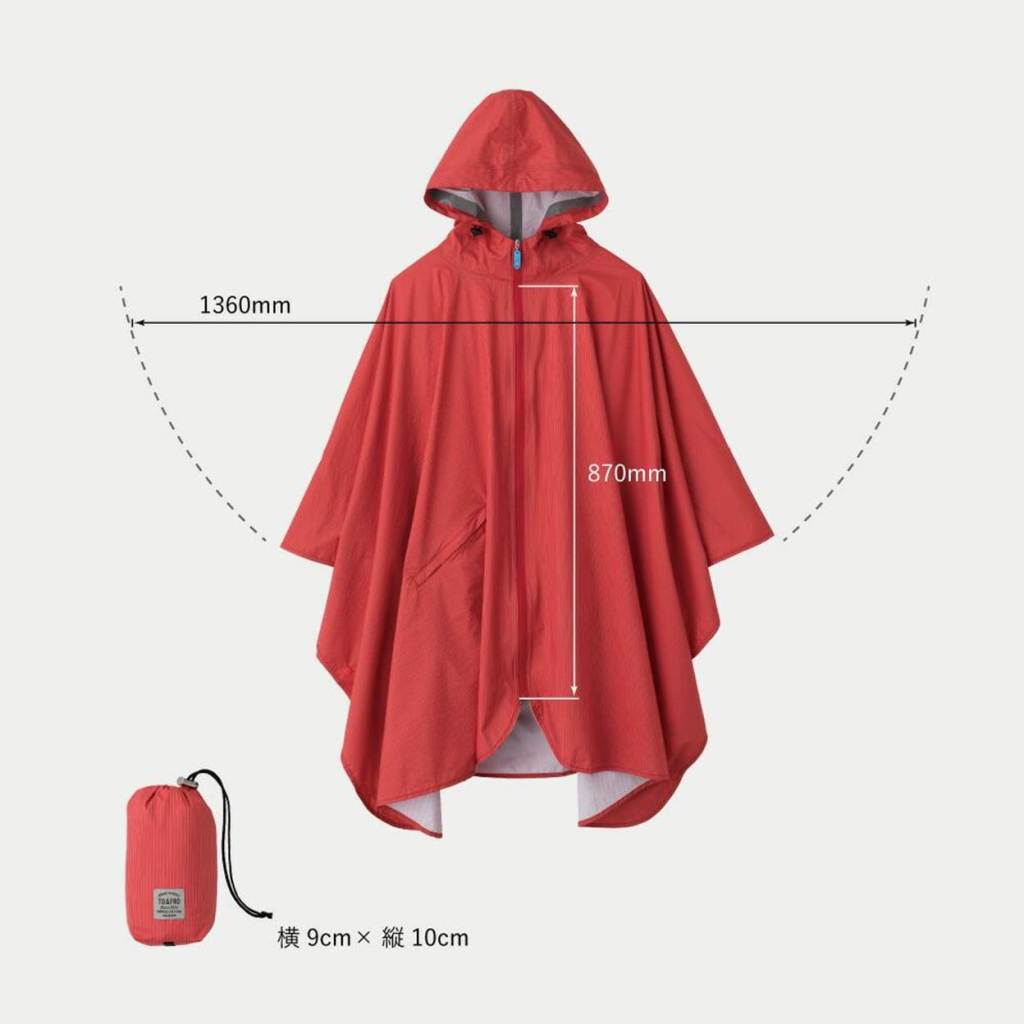
    ✔ Foldable umbrella / rain poncho
    ✔ Ziplock bags

    These make packing easier and more organized.


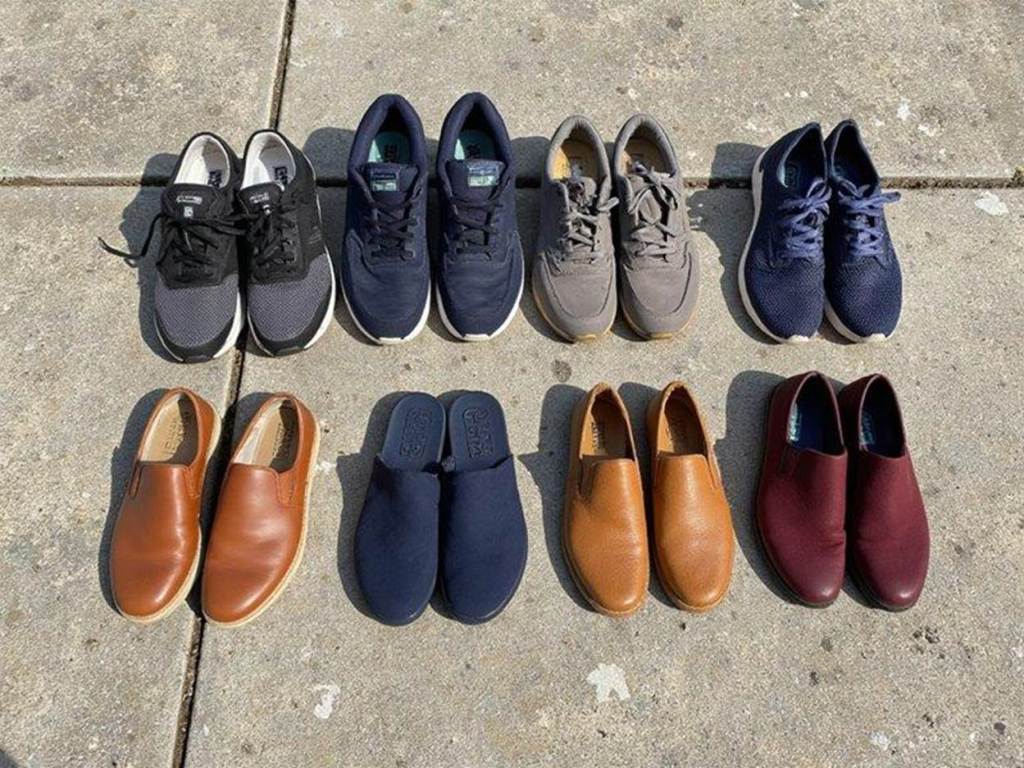
    6. Comfortable Walking Shoes

    Why this matters:

    You will walk A LOT.

    ✔ Airports
    ✔ Theme parks
    ✔ City tours

    Bad shoes = ruined trip 😅


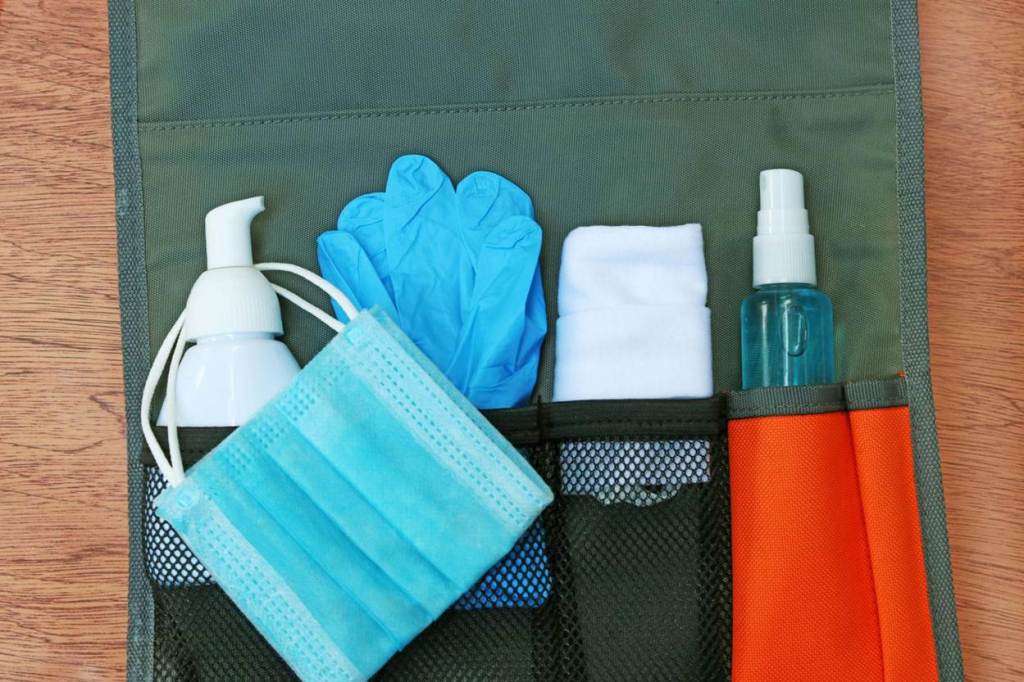
    7. Travel Hygiene Kit

    Include:

    ✔ Alcohol / sanitizer
    ✔ Wet wipes
    ✔ Tissue
    ✔ Basic meds

    Especially important for families.


    8. Packing Strategy for Filipino Families

    Ideal Setup:

    • 1 large luggage (shared)
    • 1 carry-on
    • 1 backpack per person

    Tips:

    ✔ Don’t overpack
    ✔ Bring mix-and-match clothes
    ✔ Pack light for island trips


    Budget Guide for Travel Gear (2026)

    ItemBudget Range
    Luggage₱2,000–₱6,000
    Powerbank₱500–₱1,500
    Backpack₱800–₱2,500
    Adapter₱200–₱600
    Packing cubes₱300–₱800

    What NOT to Overspend On

    ❌ Fancy luggage brands
    ❌ Too many clothes
    ❌ Expensive gadgets you won’t use
    ❌ “Travel influencers’ must-haves”

    Stick to practical items.


    WanderMapped Final Advice

    Good travel gear doesn’t have to be expensive — it just needs to be:
    ✔ Practical
    ✔ Reliable
    ✔ Suitable for your trip The best setup is the one that makes your travel simple and stress-free.

  • Complete Cebu Travel Guide for Families on a Budget (2026 Edition): Where to Go, Stay, and Eat

    Your all-in-one Cebu guide for Filipino families, first-timers, and budget travelers

    If you’re looking for a destination in the Philippines that has everything — beaches, waterfalls, history, and food — Cebu is one of the best choices.

    Even better? It’s very beginner-friendly and surprisingly budget-friendly if you plan it right.

    This 2026 Cebu Travel Guide is designed for:
    ✔ Filipino families
    ✔ First-time travelers
    ✔ Budget-conscious tourists
    ✔ Travelers with kids or teens

    Whether you’re staying for a weekend or a full week, this guide will help you plan a sulit and stress-free trip.


    Why Cebu Is Perfect for Filipino Families

    ✔ Easy access (international airport)
    ✔ Wide range of accommodations
    ✔ Organized tours available
    ✔ Mix of city + nature + beaches
    ✔ Food is affordable and diverse


    Top Places to Visit in Cebu (2026)


    1. Moalboal (Sardine Run + Beaches)

    Why families love it:
    ✔ Unique experience (millions of sardines!)
    ✔ Safe for beginners
    ✔ Affordable tours

    Activities:

    • Sardine run snorkeling
    • Turtle watching
    • White Beach relaxation

    2. Kawasan Falls (Canyoneering Adventure)

    Best for: Teens & active families

    ✔ Crystal-clear blue water
    ✔ Cliff jumping
    ✔ Guided tours available

    Cost: ₱1,500–₱2,500 (tour package)


    3. Mactan Island (Easy Beach Access)

    ✔ Near airport
    ✔ Family-friendly resorts
    ✔ Good for short stays


    4. Cebu City Heritage Sites

    ✔ Magellan’s Cross
    ✔ Basilica Minore del Santo Niño
    ✔ Fort San Pedro

    Perfect for:
    ✔ Educational trips
    ✔ First-day itinerary


    5. Oslob Whale Sharks (Optional)

    ✔ Famous but controversial
    ✔ Early morning activity

    WanderMapped Tip:
    Research ethical considerations before going.


    Where to Stay in Cebu (Budget to Family-Friendly)


    Cebu City (Best for First-Timers)

    ✔ Near malls, restaurants, transport
    ✔ Budget hotels available

    Budget range: ₱800–₱1,800/night


    Mactan Island (Best for Families)

    ✔ Beachfront resorts
    ✔ Relaxing environment

    Budget range: ₱2,500–₱5,000/night


    Moalboal (Best for Nature Trips)

    ✔ Close to sardine run & waterfalls

    Budget range: ₱1,000–₱2,500/night


    Where to Eat in Cebu (Sulit Picks)


    Local Favorites

    • Larsian BBQ (budget meals)
    • House of Lechon
    • CNT Lechon

    Affordable Eats

    • Carinderias
    • Fast food chains
    • Food courts

    Family-Friendly Restaurants

    • Ayala Mall restaurants
    • SM Seaside Cebu dining

    How to Get Around Cebu

    Public Options:

    ✔ Jeepneys (₱12–₱25)
    ✔ Buses (for South Cebu trips)
    ✔ Tricycles (short distances)

    Convenient Options:

    ✔ Grab (₱150–₱400 per ride)
    ✔ Private tours (recommended for families)


    Suggested 4-Day Cebu Itinerary (Family-Friendly)


    Day 1 — Cebu City

    • Heritage tour
    • Mall visit
    • Food trip

    Day 2 — Moalboal

    • Sardine run
    • Beach time

    Day 3 — Kawasan Falls

    • Canyoneering
    • Relaxation

    Day 4 — Mactan Island

    • Resort day
    • Shopping + departure

    Cebu Budget Breakdown (Per Person, 2026)

    CategoryCost
    Accommodation₱3,000–₱6,000
    Food₱2,000–₱3,500
    Transport₱1,500–₱2,500
    Tours₱2,000–₱5,000

    Estimated total:
    ✔ Budget: ₱8,000–₱12,000
    ✔ Comfort: ₱13,000–₱18,000


    Best Time to Visit Cebu (2026)

    March–May – Best beach weather
    January – Sinulog Festival
    October – Rainy season


    Money-Saving Tips (Pinoy Style)

    ✔ Book flights during seat sales
    ✔ Stay in Cebu City if on budget
    ✔ Join group tours
    ✔ Eat local (carinderias!)
    ✔ Travel in groups to split costs


    Is Cebu Worth It for Families?

    Absolutely.

    ✔ Easy to navigate
    ✔ Safe for beginners
    ✔ Plenty of activities for all ages
    ✔ Budget-friendly compared to other island destinations

    Cebu is one of the best starting points for exploring the Philippines.

  • How to Travel the Philippines Using Public Transport (2026 Guide): Jeepneys, Buses, Ferries & Tricycles Explained

    A practical, beginner-friendly survival guide for Filipino travelers and first-time explorers

    If you’re planning to travel around the Philippines without renting a car — good news: you absolutely can.

    From colorful jeepneys to provincial buses and island ferries, public transportation in the Philippines is chaotic at first… but surprisingly manageable once you understand how it works.

    This 2026 Edition is made especially for:
    ✔ First-time Filipino travelers
    ✔ Students and budget travelers
    ✔ Solo explorers
    ✔ Families who want to save money
    ✔ First-time tourists visiting the Philippines

    Let’s break it down step by step.


    Jeepneys — The Iconic Filipino Ride

    Jeepneys are the most common and cheapest form of transport in cities and provinces.

    Cost:

    ₱12–₱25 (depending on distance)

    How to Ride:

    1. Check the signboard (route is written on the side).
    2. Ask the driver or locals if unsure.
    3. Sit anywhere with space.
    4. Say “Para po” when you want to get off.
    5. Pay by passing your fare forward.

    Pros:

    ✔ Very cheap
    ✔ Everywhere
    ✔ Authentic Filipino experience

    Cons:

    ✘ Can be crowded
    ✘ No fixed stops
    ✘ No aircon (usually)

    WanderMapped Tip:
    Download Google Maps or ask locals. Most drivers are helpful.


    Provincial Buses — Best for Long Distances

    For traveling between cities or provinces, buses are your best option.

    Cost:

    ₱300–₱1,200 (depending on distance)

    Popular Routes:

    • Manila → Baguio
    • Manila → La Union
    • Cebu → South Cebu
    • Davao → CDO

    Types of Buses:

    ✔ Regular (non-aircon)
    ✔ Air-conditioned
    ✔ Premium / sleeper

    Pros:

    ✔ Affordable
    ✔ Comfortable
    ✔ Reliable

    Cons:

    ✘ Traffic in Luzon
    ✘ Can be fully booked during holidays

    Tip:
    Book early during long weekends and holidays.


    Vans & UV Express — Faster but Less Spacious

    UV Express vans operate on fixed routes and are slightly more expensive than jeepneys.

    Cost:

    ₱100–₱350

    Best for:

    ✔ Short provincial trips
    ✔ Airport transfers
    ✔ Avoiding multiple jeepney transfers

    Warning:
    They wait until full before leaving.


    Tricycles — Short-Distance Local Transport

    Common in smaller towns and islands.

    Cost:

    ₱20–₱150 depending on location

    Use for:

    ✔ Port → Hotel
    ✔ Hotel → Beach
    ✔ Short town trips

    Important:
    Always ask the fare before riding if no fixed rate.


    Ferries — Island Hopping & Inter-Island Travel

    Essential for Visayas & Mindanao travel.

    Cost:

    ₱300–₱1,800

    Example Routes:

    • Cebu → Bohol
    • Bohol → Siquijor
    • Batangas → Puerto Galera
    • Dumaguete → Siquijor

    Ferry Tips:

    ✔ Arrive 1 hour early
    ✔ Bring printed or digital ticket
    ✔ Check weather before departure
    ✔ Seas can be rough August–September


    Grab & Ride-Hailing Apps

    Available in:

    • Metro Manila
    • Cebu City
    • Davao

    Cost:

    ₱150–₱400 short trips

    ✔ Safer
    ✔ Convenient
    ✔ Good for families


    Sample Budget Comparison (One Day in Cebu)

    ModeEstimated Cost
    Jeepney + Tricycle₱120
    UV Express₱200
    Grab₱350–₱500

    Public transport can save you ₱200–₱500 per day.


    What First-Time Travelers Should Know

    ✔ Always bring small bills
    ✔ Travel early in the morning
    ✔ Avoid rush hours (7–9AM, 5–7PM)
    ✔ Keep your valuables secure
    ✔ Ask locals politely — most are helpful


    Weather Reminder

    Public transport can slow down during heavy rains or typhoons.

    Before traveling, check our:
    Philippines Weather Guide (2026 Edition)


    Is Public Transport Safe?

    Generally YES — especially in tourist areas.

    But:
    ✔ Stay alert
    ✔ Avoid showing large cash
    ✔ Use Grab at night if unsure


    When Should You NOT Use Public Transport?

    ❌ Large luggage
    ❌ Very tight schedule
    ❌ Traveling with elderly family members
    ❌ Remote destinations


    Best Destinations for Public Transport Travel

    ✔ Baguio
    ✔ Cebu City
    ✔ Iloilo
    ✔ Dumaguete
    ✔ Manila


    Final WanderMapped Advice

    Public transportation in the Philippines may look confusing at first, but it’s:
    ✔ Budget-friendly
    ✔ Widely available
    ✔ Part of the cultural experience

    If you’re traveling on a budget, public transport is your best friend.


    Your Turn! Planning a trip soon?
    Tell me your destination, and I’ll suggest the best transport combination — WanderMapped style.

  • The 2026 Filipino Family Guide to Universal Studios Japan: Budget, Tips, and Ride Strategy

    A practical, stress-free USJ guide for Pinoy families traveling with kids or teens

    Universal Studios Japan (USJ) is one of the top reasons Filipino families visit Osaka — and for good reason. From Super Nintendo World to Harry Potter, thrilling rides, and kid-friendly attractions, USJ is magical… but it can also be overwhelming if you’re not prepared.

    This 2026 Edition is written specifically for:
    ✔ Filipino families
    ✔ Parents traveling with kids or teens
    ✔ First-time Japan travelers
    ✔ Budget-conscious Pinoy tourists

    Here’s everything you need to know — how much it costs, what to ride, where to save, and how to survive the crowds.


    What Is Universal Studios Japan (USJ)?

    USJ is a world-class theme park in Osaka, Japan, featuring attractions based on:

    • Super Mario / Nintendo
    • Harry Potter
    • Minions
    • Jurassic Park
    • Hollywood movies

    For families, it’s one of the most sulit theme parks in Asia.


    How Much Does Universal Studios Japan Cost in 2026?

    USJ Studio Pass (1-Day)

    Ticket TypeEstimated Price (PHP)
    Adult₱3,800–₱4,600
    Child (4–11 yrs)₱2,500–₱3,200
    Senior (65+)₱3,000–₱3,800

    ✔ Prices vary by date (weekends & holidays are more expensive)
    ✔ Buying online is usually cheaper and safer


    Express Pass (Optional but Helpful)

    Express Pass TypeEstimated Price
    Express Pass 4₱4,000–₱6,000
    Express Pass 7₱6,500–₱9,000

    Is it worth it?

    YES, if:

    • You’re visiting on weekends or holidays
    • You have limited time
    • You’re traveling with kids or teens

    NO, if:

    • Visiting on a weekday
    • You arrive early and plan smart

    Where Filipino Families Should Stay Near USJ

    Best Area: Universal City

    ✔ Walking distance to park
    ✔ Saves time & energy
    ✔ Kid-friendly hotels

    Alternative: Namba Area

    ✔ Cheaper hotels
    ✔ Easy train access
    ✔ Lots of food options

    Hotel budget per night (family room):
    ₱4,500–₱8,000


    How to Get to USJ (Easy for Filipinos)

    From Osaka/Namba:

    • Take JR Line → Universal City Station
    • Travel time: ~20–30 minutes
    • Cost: ₱120–₱180

    Tip:
    Arrive 1 hour before park opening. Early entry = shorter lines.


    Best Ride Strategy for Filipino Families

    This is where many families fail — so follow this closely.


    SUPER NINTENDO WORLD (Top Priority!)

    ✔ Mario Kart: Koopa’s Challenge
    ✔ Yoshi’s Adventure

    IMPORTANT:

    • Requires Timed Entry
    • Secure entry via USJ app or Express Pass
    • Go here FIRST after entering the park

    The Wizarding World of Harry Potter

    ✔ Forbidden Journey
    ✔ Flight of the Hippogriff

    Best time:
    Late afternoon or evening (shorter lines)


    Family-Friendly Rides

    • Minion Mayhem
    • Jurassic Park (boat ride)
    • JAWS
    • Hollywood Dream (teens love this!)

    Sample 1-Day USJ Family Itinerary

    7:00 AM – Arrive at park gates

    8:00 AM – Enter park

    8:15 AM – Head straight to Super Nintendo World

    10:30 AM – Harry Potter area

    12:00 PM – Lunch (avoid peak lunch hours)

    1:30 PM – Minions & family rides

    4:00 PM – Snacks + rest

    5:00 PM – Repeat favorite rides

    7:00 PM – Souvenir shopping + exit


    Food Budget Inside USJ (2026)

    Meal TypeEstimated Cost
    Quick meals₱700–₱1,000
    Themed restaurants₱1,200–₱1,800
    Snacks₱300–₱600

    Tipid Tips:
    ✔ Eat heavy breakfast outside
    ✔ Share meals (portions are big)
    ✔ Bring refillable water bottle


    What Filipino Families Should Bring

    ✔ Comfortable shoes (non-negotiable)
    ✔ Power bank
    ✔ Small backpack
    ✔ Rain poncho
    ✔ Snacks for kids
    ✔ Printed park tickets (backup)


    Money-Saving Tips for Pinoy Families

    ✔ Visit on weekdays (Tue–Thu best)
    ✔ Buy tickets online in advance
    ✔ Skip Express Pass if low season
    ✔ Stay near USJ to save on transport
    ✔ Set a souvenir budget before entering


    Is USJ Worth It for Filipino Families?

    YES — 100%.

    Kids get magical experiences.
    Teens get thrill rides.
    Parents get well-organized fun. USJ is expensive only if you don’t plan — but with the right strategy, it’s incredibly sulit.

  • K-Pop Pilgrimage: A 3-Day Seoul Itinerary for Filipino Fans (2026 Edition)

    HYBE, SM, JYP, iconic filming spots, cafés, and must-visit K-pop locations — perfect for Pinoy fans and families with teens

    If you’re a Filipino K-pop fan, there’s a big chance your Seoul trip isn’t just about palaces and shopping — it’s about standing outside entertainment buildings, hunting albums, visiting idol cafés, and walking where your biases once walked.

    This 3-day K-pop Seoul itinerary (2026 Edition) is designed for:
    ✔ Filipino K-pop fans
    ✔ Families traveling with teens
    ✔ First-time Seoul visitors
    ✔ Budget-conscious travelers

    This guide focuses on iconic but realistic locations you can actually visit — no private buildings, no unrealistic schedules, and no fan myths.

    Let’s start your K-pop pilgrimage.

    Before You Go (Quick Pinoy Prep)

    Essentials

    • T-Money card (₩3,000 one-time purchase)
    • Korean SIM or eSIM (₱500–₱900)
    • Naver Map (much better than Google Maps in Korea)
    • Papago (translation app)

    Best Area to Stay for K-Pop Fans

    Hongdae (Strongly Recommended)

    ✔ Youthful vibe
    ✔ Album shops everywhere
    ✔ Street performers
    ✔ Cafés + merch stores
    ✔ Easy subway access

    Other good options:

    • Myeongdong – central & beginner-friendly
    • Gangnam – close to agencies but more expensive

    THE ULTIMATE 3-DAY K-POP SEOUL ITINERARY

    DAY 1 — K-Pop Agencies + Gangnam Icons

    HYBE Building (Yongsan)

    Home to: BTS, LE SSERAFIM, TXT, SEVENTEEN

    • Photo ops outside the building
    • Fans usually gather quietly
    • Respect security — photos only from public areas

    📍 Yongsan-gu

    SM Entertainment / SM Town

    For fans of: aespa, EXO, Red Velvet, NCT

    • Official merch store
    • Albums & photocards
    • SM Town Café

    📍 Apgujeong

    JYP Entertainment HQ

    For fans of: TWICE, ITZY, Stray Kids

    • Another popular fan photo stop
    • Quiet area — be respectful

    📍 Seongdong-gu

    K-Star Road (GangnamDol Statues)

    • Iconic Gangnam bear statues
    • Group-themed photo spots
    • Easy walking route

    Dinner Suggestion (Gangnam)

    • Affordable Korean BBQ lunch sets
    • Kimchi jjigae restaurants
    • Kimbap chains (budget option)

    DAY 2 — Albums, Cafés, & Youth Culture (Hongdae Focus)

    Album & Merchandise Hunt

    Must-visit shops:

    • Withmuu
    • Music Korea
    • KTOWN4U
    • Underground album shops near Hongdae Station

    Tip: Albums are cheaper here than in tourist malls.

    Idol-Themed Cafés

    • Birthday cafés (rotating idols)
    • Fan-made merch
    • Photo zones

    📍 Search “idol birthday café Hongdae” on Naver

    Street Performances (Busking)

    • Dance covers
    • Vocal performances
    • Random play dance (RPD) events

    📍 Evenings near Hongdae Playground

    Fashion & Souvenir Shopping

    • Affordable Korean streetwear
    • Accessories teens love
    • Cosmetic shops

    Dinner

    • Korean fried chicken (budget-friendly)
    • Tteokbokki street stalls
    • Convenience store meal (late night tipid)

    DAY 3 — K-Drama Spots + K-Pop Culture

    📍 COEX Mall

    ✔ Starfield Library
    ✔ K-pop stores
    ✔ SMTOWN & Café
    ✔ Aquarium (optional)

    K-Drama Filming Locations

    (Perfect combo for K-pop & K-drama fans)

    • Bukchon Hanok Village
    • Cheonggyecheon Stream
    • Namsan Seoul Tower

    Last-Minute Shopping

    • Myeongdong cosmetics
    • Official merch stores
    • Korean snacks as pasalubong

    K-Pop Travel Etiquette (Very Important!)

    ✔ No blocking entrances
    ✔ No loud shouting
    ✔ No filming inside buildings
    ✔ Follow security rules
    ✔ Respect idols’ privacy

    K-pop tourism survives because fans are respectful.

    Money-Saving Tips for Pinoy K-Pop Fans

    ✔ Buy albums in Hongdae, not airports
    ✔ Eat lunch sets instead of dinner BBQ
    ✔ Use subways (faster than taxis)
    ✔ Share Pocket WiFi if with family
    ✔ Set a merch budget before shopping

    Your Turn! Who’s your ULT bias, and when are you visiting Seoul?
    Comment below and I’ll help you customize this itinerary — WanderMapped style.